If you’ve ever spent an entire weekend weeding only to watch your prized vegetables succumb to poor drainage or encroaching garden pests, you know the frustration of ground-level gardening. I’ve seen many homeowners struggle with compacted, clay-heavy soil that makes root growth impossible, leaving them with lackluster harvests.
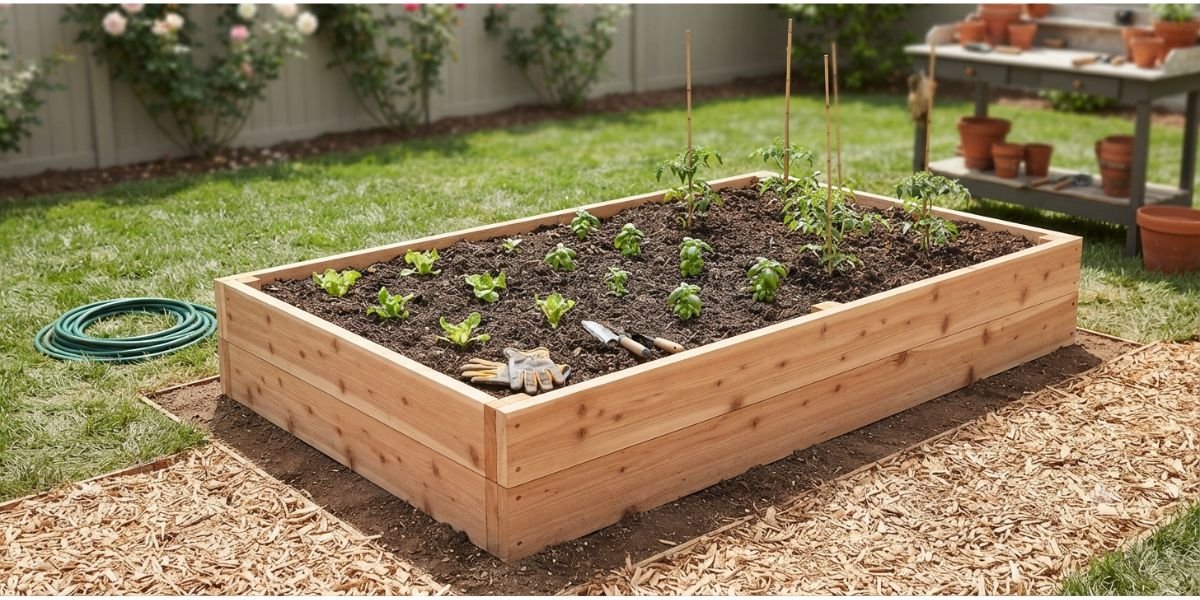
That’s where the raised garden bed comes in. It’s one of the most effective ways to reclaim your garden space, improve soil control, and save your back from unnecessary strain. Whether you are looking to maximize a small backyard or need a dedicated zone for your herbs and vegetables, building a raised bed is a manageable, rewarding project that adds both beauty and functionality to your property. If you’re new to outdoor projects, our DIY Home Improvement Projects for Beginners guide is a great place to build your confidence before getting started.
Quick Answer: Getting Started
Building a raised garden bed is a straightforward project that usually takes 4–8 hours for a beginner. You’ll need rot-resistant lumber (like cedar or redwood), exterior-grade screws, and a level area. A standard 4′ x 8′ bed is the perfect size: it’s narrow enough to reach the center from either side (preventing soil compaction) and provides enough yield for a small household. Always start by clearing the site of grass and ensuring the frame is level to prevent structural stress later on.
Why Choose a Raised Garden Bed?
As a contractor, I’m often asked if it’s “really worth the effort” to build up rather than planting directly in the earth. The answer is almost always yes. The benefits of raised beds—such as improved drainage, better soil control, and easier maintenance—are also recognised by the Royal Horticultural Society (RHS).
- Superior Soil Control: You aren’t at the mercy of your native soil. By filling the bed with a high-quality mix of compost, topsoil, and organic matter, you create a nutrient-dense environment tailored to your plants.
- Better Drainage: Raised beds sit above the water table, preventing root rot and allowing you to garden earlier in the spring when ground soil is still cold and soggy.
- Pest and Weed Management: By installing a hardware cloth barrier at the bottom, you can stop burrowing pests like gophers and voles. Plus, being elevated makes it significantly harder for weeds to take hold.
- Ergonomics: For many homeowners, a raised bed means less bending and kneeling. Building a deeper bed (18–24 inches) can essentially turn your garden into a waist-high workspace.
Materials and Tools Needed
Before you head to the lumber yard, gather your materials. Using the right supplies from the start saves you time and maintenance headaches down the road.
Essential Tools
- Power Drill/Driver: For securing your frame.
- Circular Saw or Miter Saw: If your lumber isn’t pre-cut.
- Tape Measure & Speed Square: For perfect 90-degree corners.
- Spirit Level: Essential for ensuring your bed doesn’t tilt.
- Staple Gun: For attaching landscape fabric or hardware cloth.
Recommended Materials
- Lumber: Choose rot-resistant wood. Cedar is the gold standard for longevity, though pressure-treated pine is a cost-effective alternative. Ensure any treatment is rated for ground contact.
- Exterior Screws: Use 2 ½-inch to 3-inch hot-dipped galvanized or stainless steel screws to prevent rust.
- Hardware Cloth (1/4″ mesh): To line the bottom against pests.
- Soil Mix: A blend of 60% topsoil, 30% compost, and 10% potting soil (or vermiculite/peat moss) is a great starting point.
Step-by-Step Construction Guide
1. Site Selection and Preparation
Find a level spot that receives at least 6–8 hours of sunlight daily. Use a garden hose to outline the footprint. If you are placing the bed on top of existing grass, dig up the sod within the perimeter to prevent weeds from growing up into your new bed.
2. Cutting Your Lumber
Most DIYers start with 2×10 or 2×12 planks. If you are building a 4′ x 8′ bed, cut two 8-foot boards for the sides and two 4-foot boards for the ends. If you want a taller bed, double the height by stacking the boards, using corner posts (4×4 stakes) to secure them.
3. Assembling the Frame
Layout your boards on a flat surface. Using your drill, create pilot holes—this is crucial to prevent the wood from splitting, especially with cedar. Drive your exterior screws through the side boards into the end boards. Use a speed square to ensure the corners are perfectly square.
4. Securing and Lining
Position your frame in the chosen spot. Use your spirit level along all four sides, tapping the soil underneath to adjust until perfectly level. Once set, staple your hardware cloth to the bottom of the frame. This allows for drainage while acting as a structural barrier against pests.
5. Filling the Bed
Don’t just fill it with dirt from your yard. Use a mix of high-quality garden soil and organic compost. As you fill, water the soil in layers to help it settle and remove large air pockets.
Common Mistakes to Avoid
- Making it too wide: Keep the width at 4 feet or less. Anything wider makes it difficult to reach the center without stepping into the bed, which compacts the soil and kills beneficial microbes.
- Ignoring leveling: If the frame isn’t level, the weight of the water and soil will eventually put uneven pressure on the corners, causing the wood to pull apart.
- Using improper screws: Do not use basic indoor drywall screws. They will rust and fail within a single season. Always use outdoor-rated, galvanized, or stainless hardware.
Cost Breakdown
Costs will vary based on your local lumber market and the type of wood you select.
| Option | Estimated Cost (4×8 bed) | Durability |
| Budget (Untreated Pine) | $100 – $150 | Low (3–5 years) |
| Mid-Range (Pressure-Treated) | $150 – $250 | Moderate (7–10 years) |
| Premium (Cedar/Redwood) | $300 – $500+ | High (10+ years) |
Note: Soil costs can add an extra $50–$150 depending on whether you buy in bulk or bags.
Conclusion
Building a raised garden bed is more than just a DIY weekend project; it’s an investment in your home’s productivity and your own health. By following these steps and choosing durable, quality materials, you can create a garden space that serves your family for years to come.
If you are looking for more ways to enhance your outdoor space, check out our guide on How to Put a House in a Trust to learn about protecting your property assets while you focus on these home improvements.
FAQs
1. Do I need a permit to build a raised garden bed?
In most residential areas, no. However, always check with your local HOA or municipal building department if you are building very large, multi-tier structures that might be classified as retaining walls.
2. Is pressure-treated wood safe for vegetable gardens?
Modern pressure-treated wood (post-2003) uses safer preservatives than the old arsenic-based methods. For added peace of mind, line the interior walls with heavy-duty plastic sheeting.
3. How deep should my raised bed be?
For leafy greens and herbs, 6–8 inches is fine. For root vegetables like carrots or potatoes, aim for at least 12–18 inches of depth.
4. Can I build a raised bed on concrete?
Yes, but you will need to build it deeper (18–24 inches) to provide enough volume for root development, and you’ll need to ensure the concrete underneath has adequate drainage.
5. How often should I replace the soil?
You don’t need to replace it entirely. Simply “top off” the bed with 1–2 inches of fresh compost every spring to replenish nutrients.
Meta Description: Learn how to build a raised garden bed with our expert DIY guide. Simple steps, material lists, and pro tips for a successful home garden in 2026.