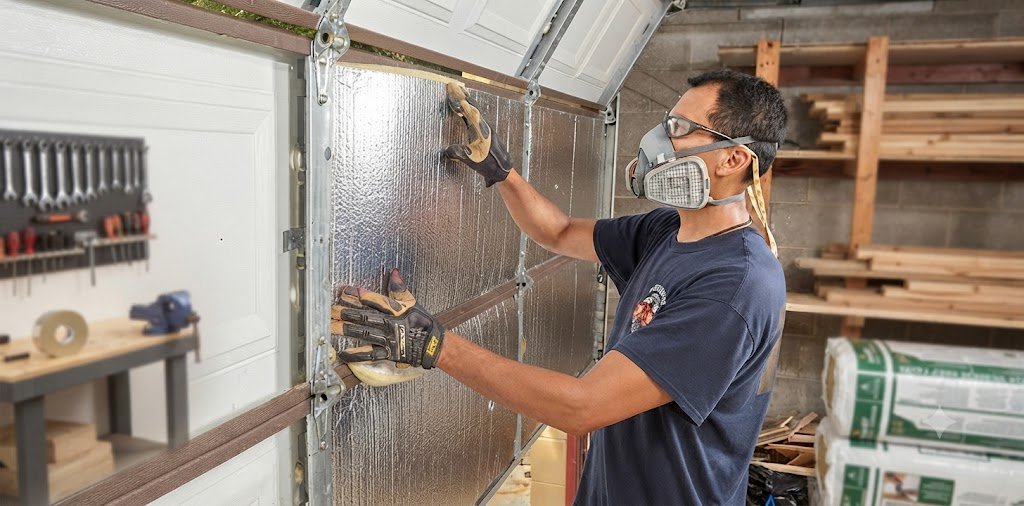
A garage is much more than a place to park your car. Many homeowners use it as a workshop, home gym, storage area, or even a laundry room. However, if your garage door isn’t insulated, it can become unbearably hot in summer, freezing cold in winter, and surprisingly noisy all year round.
That’s where garage door insulation makes a real difference.
Adding insulation helps reduce heat transfer, improves indoor comfort, minimizes outside noise, and can even lower your home’s energy bills. Whether you’re planning a simple weekend DIY project or considering upgrading to an insulated garage door, understanding your options will help you make the right decision.
In this complete guide, you’ll learn how to insulate a garage door, compare the best insulation materials, estimate costs, avoid common mistakes, and decide whether retrofitting your existing door or replacing it is the smarter investment.
Quick Answer
Garage door insulation involves adding insulating material to the inside of your garage door to reduce heat loss, improve energy efficiency, and keep the garage more comfortable throughout the year. The most popular options include rigid foam boards, reflective foil insulation, and fiberglass insulation kits. Most homeowners can complete a DIY installation in just a few hours using basic tools.
Why Garage Door Insulation Matters

Your garage door is often the largest opening in your home. Without insulation, it allows outdoor temperatures to pass directly into your garage. This can affect not only the garage itself but also nearby rooms, especially if the garage is attached to your house.
During summer, a metal garage door absorbs sunlight and transfers heat indoors. In winter, cold air easily passes through the door, making the space uncomfortable and increasing heating costs.
Insulating your garage door creates an additional thermal barrier that helps stabilize indoor temperatures throughout the year.
Homeowners usually notice improvements such as:
- Lower heating and cooling costs
- Better temperature control
- Reduced outside noise
- Less moisture and condensation
- Improved comfort for workshops or home gyms
- Better protection for stored belongings
Even if you don’t spend much time in your garage, insulation can help protect tools, electronics, paint, furniture, and seasonal items from extreme temperatures.
Benefits of Garage Door Insulation
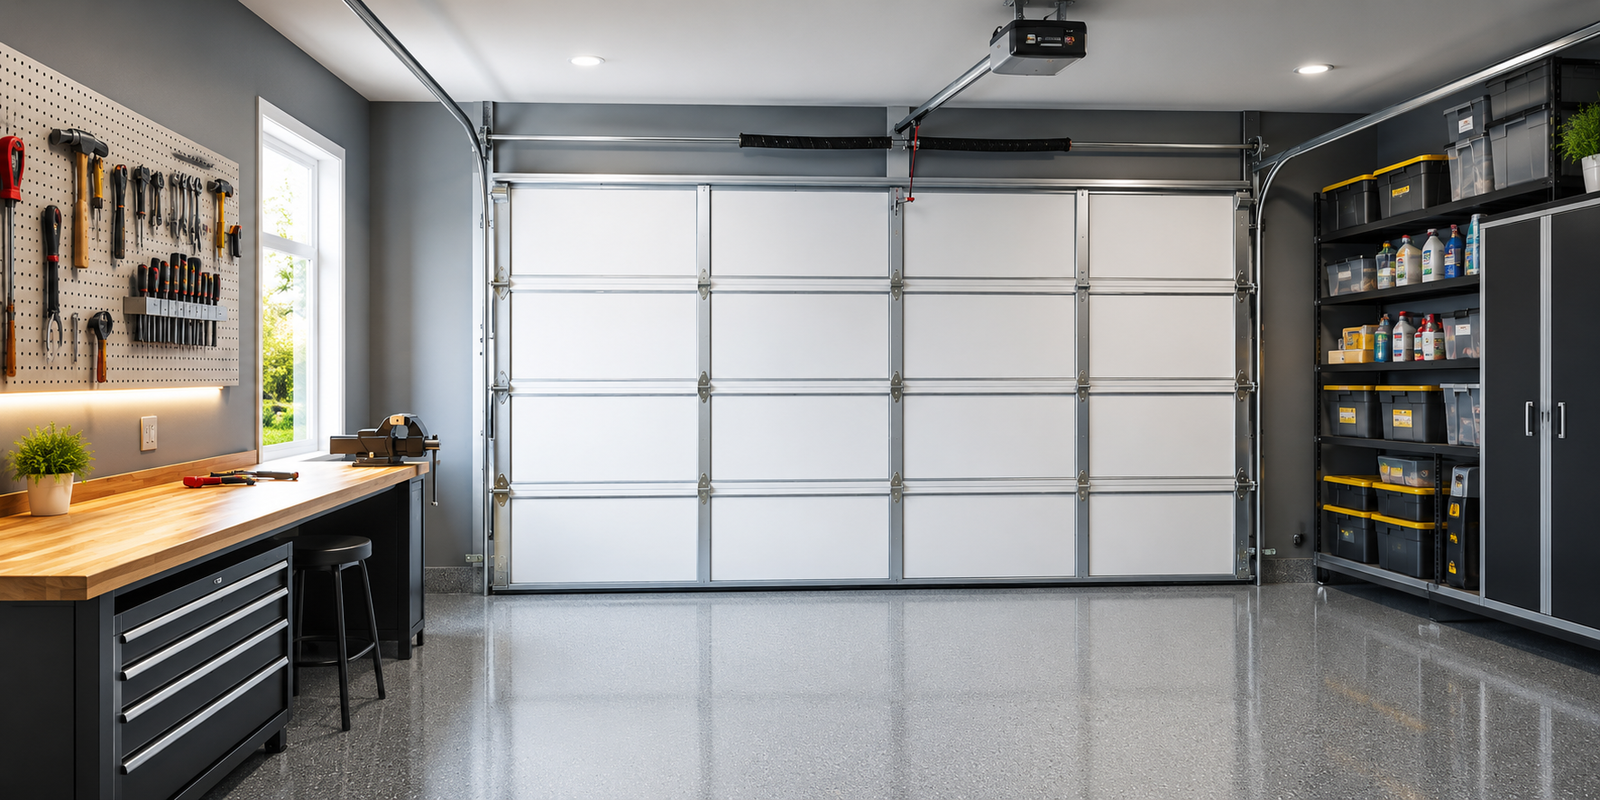
If you’re turning your garage into a workshop or storage area, our guide on How to Install Floating Shelves can help you maximize wall space.
Installing garage door insulation offers more than just energy savings. It improves the overall performance of your garage and creates a more comfortable environment.
1. Better Energy Efficiency
One of the biggest advantages is reducing heat transfer.
When your garage shares walls with your home, an insulated garage helps reduce the workload on your HVAC system. This may lower your monthly energy bills while keeping indoor temperatures more stable.
2. Comfortable Temperatures All Year
An insulated garage stays significantly cooler during hot weather and warmer during colder months.
This is especially important if your garage serves as:
- Home workshop
- Fitness room
- Laundry area
- Hobby space
- Home office
- Storage room
Instead of feeling like an oven in July or a freezer in January, the space remains much more usable.
3. Noise Reduction
Garage doors can transmit a surprising amount of outside noise.
Adding insulation helps absorb sound from:
- Busy roads
- Neighbors
- Rainstorms
- Lawn equipment
- Traffic
It also reduces the vibration created every time the garage door opens or closes.
4. Less Condensation
Temperature differences often create condensation inside garages.
Over time, excess moisture can cause:
- Rust
- Mold
- Mildew
- Damaged tools
- Corrosion
Insulation helps maintain a more stable interior temperature, reducing condensation problems.
5. Protects Your Belongings
Many homeowners store expensive equipment inside the garage.
Insulation helps protect:
- Power tools
- Lawn equipment
- Sports gear
- Paint
- Holiday decorations
- Furniture
- Electronics
Extreme heat and freezing temperatures can shorten the lifespan of many stored items.
6. Improves Home Value
Energy-efficient upgrades remain attractive to homebuyers.
A properly insulated garage can make your property more appealing, especially in regions with very hot or very cold climates.
Although garage door insulation alone won’t dramatically increase resale value, it adds to the overall energy efficiency of the home.
Is Garage Door Insulation Worth It?
For most homeowners, the answer is yes.
If your garage is attached to your home or you regularly spend time inside it, insulation is one of the most affordable upgrades you can make.
Garage door insulation is especially worthwhile if you:
- Use your garage as a workshop
- Have living space above the garage
- Store temperature-sensitive items
- Live in very hot or cold climates
- Want lower energy bills
- Want a quieter garage
However, if your garage is detached and only used to park vehicles, the benefits may be smaller.
Signs Your Garage Door Needs Insulation
Not sure whether your garage needs insulation?
Here are some common signs.
The garage feels extremely hot during summer.
The garage becomes freezing cold in winter.
Your HVAC system runs constantly.
The garage is much louder than the rest of your home.
Condensation appears on the inside of the door.
Tools or stored items are damaged by temperature changes.
If you notice several of these issues, installing a garage door insulation kit can often solve the problem without replacing the entire door.
Understanding R-Value
When shopping for insulation, you’ll frequently see something called R-value.
R-value measures how well an insulation material resists heat flow.
Simply put:
- Higher R-value = Better insulation
- Lower R-value = Less insulation
Here’s a general guide:
| Insulation Material | Typical R-Value |
|---|---|
| Reflective Foil | R-2 to R-4 |
| EPS Foam Board | R-4 to R-5 |
| XPS Foam Board | R-5 to R-6 |
| Polyiso Foam Board | R-6 to R-7.5 |
| Fiberglass Kit | R-4 to R-8 |
For most residential garages, an R-value between R-6 and R-9 provides a good balance between performance and cost.
Best Garage Door Insulation Materials
Choosing the right material is the most important step when planning a garage door insulation project. The best option depends on your climate, budget, garage door type, and how you use your garage.
Let’s compare the most common insulation materials.
1. Rigid Foam Board (Best Overall)
Rigid foam board is the most popular choice for DIY garage door insulation because it’s lightweight, easy to cut, and provides excellent thermal performance.
Most foam boards are made from:
- Expanded Polystyrene (EPS)
- Extruded Polystyrene (XPS)
- Polyisocyanurate (Polyiso)
Advantages
High insulation value
Moisture resistant
Lightweight
Long lifespan
Affordable
Easy to install
Disadvantages
- Requires measuring and cutting
- Can crack if handled roughly
Best For
- Attached garages
- Cold climates
- Hot climates
- DIY homeowners
2. Reflective Radiant Barrier Insulation
Reflective insulation uses aluminum foil to reflect radiant heat instead of absorbing it.
It performs especially well in sunny climates where garage doors receive direct sunlight.
Advantages
Very lightweight
Easy to install
Doesn’t absorb moisture
Great for reducing summer heat
Disadvantages
- Lower R-value
- Less effective in cold climates
Best For
- Southern USA
- Warm climates
- Metal garage doors
Typical R-Value: R-2 to R-4
3. Fiberglass Garage Door Insulation Kits
Fiberglass insulation kits include pre-cut batts covered with vinyl.
Many homeowners choose them because they fit standard garage door panels.
Advantages
Affordable
Readily available
Good sound insulation
Easy to replace
Disadvantages
- Can absorb moisture
- Requires protective gloves during installation
- May sag over time
Best For
- Budget-friendly upgrades
- Noise reduction
- Detached garages
Typical R-Value: R-4 to R-8
Material Comparison Table
| Material | R-Value | Cost | DIY Friendly | Best Climate |
|---|---|---|---|---|
| Rigid Foam Board | R-4–R-7.5 | $$ | yes | Hot & Cold |
| Reflective Foil | R-2–R-4 | $ | yes | Hot |
| Fiberglass Kit | R-4–R-8 | $$ | yes | Moderate |
Garage Door Insulation Kit vs Buying Materials Separately
Many homeowners wonder whether to purchase a garage door insulation kit or buy insulation materials individually.
Both options work well, but each has different advantages.
Garage Door Insulation Kit
A complete kit usually includes:
- Pre-cut insulation panels
- Retainer clips
- Double-sided tape
- Installation instructions
Pros
Faster installation
Beginner-friendly
Less measuring
Less waste
Cons
- More expensive
- Limited size options
Buying Materials Separately
Instead of a kit, you can purchase foam boards or reflective insulation yourself.
Pros
Lower cost
Better customization
Higher insulation value possible
Cons
- More cutting required
- Longer installation time
Which Garage Doors Can Be Insulated?
Nearly every residential garage door can be insulated.
These include:
Sectional Garage Doors
The easiest type to insulate because each panel has recessed sections that hold insulation securely.
Best choice for DIY projects.
Roll-Up Garage Doors
Can be insulated using thin reflective insulation because thicker foam may interfere with rolling.
Up-and-Over Garage Doors
Foam boards and reflective insulation both work well if installed carefully.
Side-Hinged Garage Doors
These doors can be insulated similarly to exterior house doors using rigid foam and weather stripping.
DIY Garage Door Insulation vs Professional Installation
If your garage door is sagging or misaligned before adding insulation, read our complete guide on How to Fix a Sagging Door to ensure it operates safely and efficiently.
Many homeowners ask whether they should install insulation themselves or hire a professional.
DIY Installation
DIY installation is ideal if:
- Your garage door is in good condition
- You have basic tools
- You’re comfortable measuring and cutting
- You want to save money
Most projects take 2–4 hours.
Professional Installation
Hiring a professional may be worthwhile if:
- Your garage door is damaged
- Springs need adjustment
- You’re replacing the entire door
- You want the highest energy efficiency
Professionals can also check whether the added insulation weight affects the door balance.
How Much Does Garage Door Insulation Cost?
The total cost depends on the insulation material and garage door size.
| Option | Estimated Cost |
|---|---|
| Reflective Foil | $40–$100 |
| Foam Board DIY | $60–$180 |
| Garage Door Insulation Kit | $80–$250 |
| Professional Installation | $250–$700 |
| New Insulated Garage Door | $900–$3,500+ |
Although insulated garage doors cost more upfront, they often provide better long-term energy savings.
How to Choose the Best Garage Door Insulation
Before buying insulation, consider these factors:
Climate
- Cold climates benefit from higher R-values.
- Warm climates often benefit from reflective insulation.
Garage Usage
If you use your garage as:
- Home gym
- Workshop
- Office
- Hobby room
Choose higher-performance insulation.
Budget
If you’re on a tight budget, foam boards usually offer the best value.
Door Type
Always ensure the insulation won’t interfere with tracks, hinges, or rollers.
Expert Tips Before Installation
- Measure every garage door panel individually.
- Leave a small gap (about 1/4 inch) when cutting foam for an easier fit.
- Replace damaged weather stripping before insulating.
- Clean the inside surface thoroughly.
- Never block hinges, rollers, or moving hardware.
- After installation, check the garage door balance. If the door feels heavier or doesn’t stay halfway open, the springs may need adjustment by a professional.
How to Insulate a Garage Door (Step-by-Step DIY Guide)
Installing garage door insulation is a straightforward weekend project that most homeowners can complete in just a few hours. With the right materials and careful measurements, you can improve your garage’s comfort and energy efficiency without replacing the entire door.
Tools and Materials You’ll Need
- Garage door insulation kit or rigid foam board
- Measuring tape
- Utility knife
- Straight edge or ruler
- Marker or pencil
- Double-sided tape or retainer clips
- Safety gloves
- Safety glasses
- Step ladder
Step 1: Clean the Garage Door
Keeping the garage clean is just one part of home maintenance. You may also like our guide on How to Clean Baseboards for more easy cleaning tips.
Start by cleaning the inside of your garage door. Remove dust, grease, and loose debris using a damp cloth and a mild household cleaner.
A clean surface helps insulation panels and adhesive stay in place for years.
Step 2: Measure Each Door Panel
Measure every garage door panel separately.
Even if the panels appear identical, slight size differences are common.
For the best fit, cut insulation about 1/4 inch smaller than each opening so it slides in easily without bending.
Step 3: Cut the Insulation Material
Transfer your measurements to the insulation material.
Use a straight edge and utility knife to make clean, accurate cuts.
If you’re using a garage door insulation kit, many panels are already pre-sized, reducing the amount of cutting required.
Step 4: Install the Insulation Panels
Place each insulation panel into the recessed section of the garage door.
Secure the material using:
- Retainer clips
- Double-sided tape
- Plastic fasteners
- Low-expansion spray foam (only where recommended)
Make sure the insulation doesn’t interfere with hinges, rollers, or tracks.
Step 5: Seal Air Leaks
Even the best insulation won’t perform well if outside air can enter around the edges.
Inspect the:
- Bottom seal
- Side weather stripping
- Top seal
- Corner gaps
Replace worn weather stripping if necessary to improve energy efficiency.
Step 6: Test the Garage Door Balance
Insulation adds weight to your garage door.
After installation:
- Open the door halfway.
- Release it carefully.
If the door stays in place, the balance is good.
If it drops quickly or feels unusually heavy, the torsion springs may need professional adjustment.
Safety Tip: Never attempt to adjust garage door torsion springs yourself. They are under high tension and can cause serious injury.
Common Garage Door Insulation Mistakes
Avoid these mistakes to get the best results.
Choosing the Wrong Material
Not every insulation type works for every garage door.
Choose materials based on your climate, garage door design, and insulation goals.
Blocking Moving Parts
Never cover:
- Hinges
- Rollers
- Tracks
- Springs
Blocking moving components can damage the garage door.
Ignoring Air Leaks
Many homeowners focus only on the door panels.
However, gaps around the edges often cause just as much heat loss.
Replacing weather stripping is one of the most cost-effective upgrades you can make.
Forgetting Door Balance
Adding insulation changes the overall weight of the garage door.
Always test the balance after installation.
Buying Insulation Based Only on Price
The cheapest option isn’t always the best.
Higher-quality insulation generally lasts longer, performs better, and provides greater energy savings over time.
Garage Door Insulation Maintenance Tips
Once installed, garage door insulation requires very little maintenance.
To keep it performing well:
- Inspect insulation once a year.
- Replace damaged weather stripping.
- Check for moisture buildup.
- Tighten loose fasteners.
- Clean the inside of the garage door regularly.
- Lubricate hinges and rollers according to the manufacturer’s recommendations.
Proper maintenance can extend the life of both the insulation and the garage door.
Final Thoughts
Installing garage door insulation is one of the smartest DIY upgrades for homeowners looking to improve comfort, reduce energy costs, and protect their garage from extreme temperatures. Whether you choose rigid foam boards, reflective foil, or a complete garage door insulation kit, the project is relatively inexpensive and can often be completed in a single afternoon.
Before starting, measure each panel carefully, select an insulation material suited to your climate, and make sure the added weight doesn’t affect the door’s balance. Combined with quality weather stripping and routine maintenance, proper insulation can make your garage quieter, more energy-efficient, and comfortable year-round.
FAQs
Does garage door insulation really work?
Yes. A properly insulated garage door helps reduce heat transfer, keeps the garage more comfortable throughout the year, lowers outside noise, and can improve your home’s overall energy efficiency.
What is the best insulation for a garage door?
Rigid foam board is often the best all-around choice because it offers excellent thermal performance, is lightweight, moisture-resistant, and easy for most homeowners to install.
Can I install a garage door insulation kit myself?
Yes. Most DIY-friendly garage door insulation kits are designed for homeowners and can usually be installed in 2–4 hours using basic tools.
How much does garage door insulation cost?
DIY projects typically cost between $60 and $250, depending on the material and garage door size. Professional installation generally ranges from $250 to $700, while replacing the entire garage door with an insulated model can cost $900 to $3,500 or more.
Is it better to insulate an existing garage door or replace it?
If your current garage door is in good condition, adding insulation is usually the more affordable option. However, if the door is old, damaged, or poorly sealed, upgrading to a factory-insulated garage door may provide better long-term value.