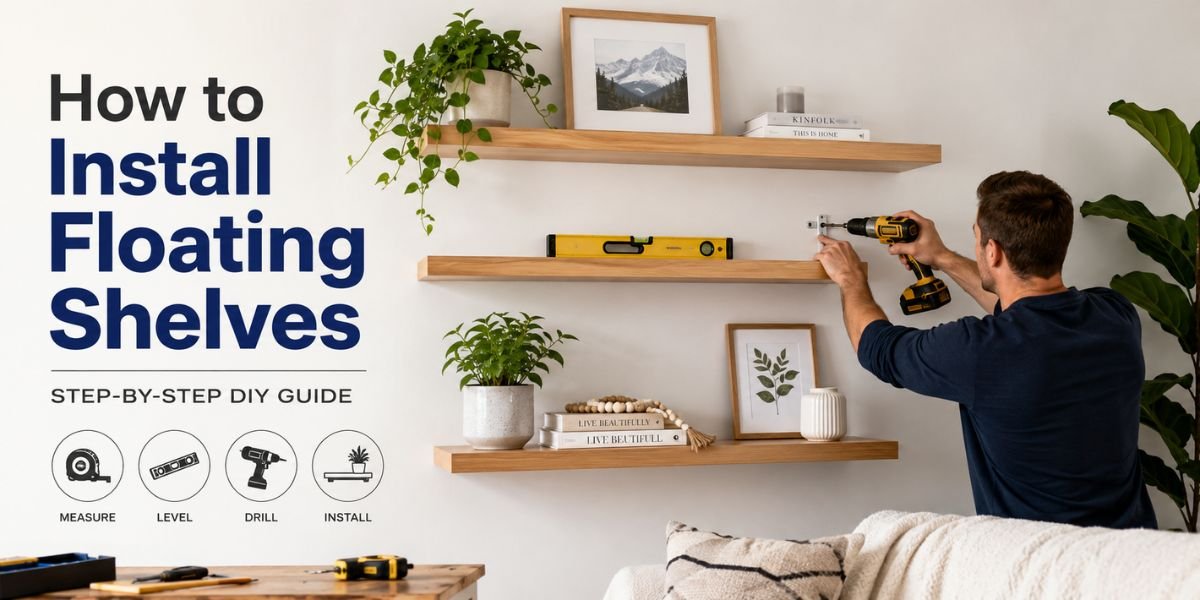
I get this call more than almost any other small-project question: “Ryan, I put up a floating shelf last weekend, and it’s already sagging” — or worse, “it ripped right out of the drywall with my books still on it.” Nine times out of ten, the problem isn’t the shelf. It’s how it was mounted.
Floating shelves look simple. No visible brackets, clean lines, that “how is this even attached to the wall” look that homeowners love for kitchens, living rooms, and bathrooms. But that clean look depends entirely on what’s happening inside the wall, which is exactly where most DIYers cut corners. If you’re wondering how to install floating shelves so they actually stay up, hold real weight, and look professional, this guide walks through the whole process — the way I’d do it on a client’s wall.
Quick Answer
To install a floating shelf, locate your wall studs (or use heavy-duty drywall anchors rated for the shelf’s weight), mark and level your bracket or mounting rail, drill pilot holes, secure the hardware into studs or anchors, then slide the shelf onto the hidden bracket and secure it with the included set screw. For anything holding more than 15–20 pounds, hitting at least one stud is not optional — it’s the difference between a shelf that lasts and one that ends up on the floor.
What Floating Shelves Actually Are
A floating shelf isn’t really floating — it’s sitting on a concealed bracket or a steel mounting rail that’s hidden inside a hollow channel in the shelf itself. The bracket attaches to the wall (ideally into framing), and the shelf slides over it, so from the outside you just see a clean board with no visible hardware. Some higher-end shelves use a full-length floating shelf rod system with multiple rods, which spreads the load across a wider area and holds significantly more weight than a single center bracket.
Benefits of Floating Shelves
- Clean, minimalist look — no visible brackets or corbels
- Easy to install compared to built-in cabinetry
- Works well in small spaces like bathrooms, hallways, and kitchens
- Can be installed at any height without floor-to-ceiling framing
- Good option for renters using heavy-duty removable anchors (check your lease first)
Drawbacks to Consider
- Weight capacity is limited compared to bracket-and-corbel shelving
- Installation into masonry or plaster walls is more labor-intensive
- Poor stud alignment can force awkward shelf placement
- Not ideal for very heavy or deep shelving (large TVs, extensive book collections) without reinforcement
Cost Breakdown
Costs vary based on shelf material, size, and whether you hire it out, but here’s a general range:
- Budget option: $15–$40 per shelf (MDF or laminate, basic bracket hardware)
- Mid-range option: $40–$100 per shelf (solid wood or engineered wood, steel rod mounting system)
- Premium option: $100–$300+ per shelf (hardwood, live-edge, custom lengths, designer brackets)
If you hire a handyman or carpenter, expect to pay $75–$150 per shelf for labor on a standard install, more if it involves opening drywall to add blocking. These figures can vary depending on your local labor rates, the wall material you’re working with, and whether structural reinforcement is needed, so treat them as a starting point rather than a quote.
Materials Needed
- Floating shelf with matching mounting bracket/rail (sold together, don’t mix and match)
- Wall anchors rated for your shelf’s weight (if not hitting a stud)
- Wood screws (typically included, but longer ones may be needed for thicker drywall)
- Wall plugs for masonry, if applicable
Tools Required
- Stud finder
- Level (a laser level makes this much faster for long shelves)
- Drill/driver with appropriate bits
- Tape measure
- Pencil
- Painter’s tape (optional, helps prevent drywall chipping)
- Safety glasses
Skill Level: Beginner to intermediate Estimated Time: 30–60 minutes per shelf, longer if you need to locate studs or patch old holes
Step-by-Step Installation Guide
1. Decide on placement and height. Mark where you want the shelf, keeping in mind sightlines and what will sit on it. For kitchens, 18 inches above a countertop is a common starting point.
2. Find your studs. Run a stud finder across the marked area. Studs are typically spaced 16 inches on center in most homes, though older homes can vary. Mark both edges of each stud with a pencil so you know the full width, not just the center.
3. Mark the bracket position. Hold the bracket against the wall at your desired height and use a level to make sure it’s perfectly horizontal. Mark the screw hole locations through the bracket itself.
4. Drill pilot holes. Drill small pilot holes at your marks. If you’re hitting a stud, this prevents splitting and keeps the screw going in straight. If you’re using anchors instead, drill according to the anchor’s specified bit size.
5. Install anchors if needed. When a stud doesn’t line up where you need the shelf, use heavy-duty toggle anchors or self-drilling drywall anchors rated for at least double your expected load. Never rely on plastic anchors alone for anything beyond decorative, lightweight items.
6. Secure the bracket to the wall. Screw the bracket firmly into the studs or anchors. Check with your level again before fully tightening — it’s much easier to adjust now than after the shelf is on.
7. Slide the shelf onto the bracket. Most shelves slide on from the front and seat fully against the wall. Push firmly and evenly so it seats flush.
8. Secure the set screw. Nearly every quality floating shelf has a small set screw underneath, near the wall, that locks the shelf onto the bracket so it can’t be lifted off accidentally. Don’t skip this — it’s a common step people forget, and it’s the one that keeps kids or pets from knocking the whole shelf loose.
9. Check level and load test. Set the level on top one more time, then add a moderate amount of weight gradually to confirm everything’s solid before loading it up fully.
Common Mistakes
- Skipping the stud finder and eyeballing it. Drywall alone, even with anchors, isn’t reliable for anything heavier than light decor.
- Using the wrong anchor for the wall type. Plaster, drywall, and masonry all need different anchor types.
- Not leveling the bracket before tightening. A shelf that’s off by even a few degrees is noticeable once books or decor are on it.
- Overloading the shelf beyond its rated weight. Manufacturers publish a maximum load for a reason — exceeding it stresses the bracket and the wall anchor point over time.
- Forgetting the set screw, which lets the shelf shift or lift off the bracket.
- Ignoring plumbing or electrical lines when drilling into a wall shared with a kitchen or bathroom on the other side.
Safety Considerations
Always wear safety glasses when drilling overhead or at eye level. Check for hidden wiring or plumbing before drilling, especially near outlets, switches, or plumbing walls — a stud finder with wire detection is worth the extra cost. If you’re working above shoulder height, use a stable step stool rather than balancing on furniture. And once installed, don’t exceed the shelf’s stated weight capacity, even temporarily; sudden failure with dishes or décor on the shelf can cause injury or damage.
Maintenance Tips
- Periodically check that screws haven’t loosened, especially in humid rooms like bathrooms and kitchens
- Avoid overloading shelves seasonally with holiday décor beyond rated capacity
- Wipe wood shelves with a slightly damp cloth; avoid soaking, which can warp MDF or particleboard shelves
- Re-level shelves if you notice sagging, which can indicate the bracket has loosened from the wall
Professional vs. DIY Comparison
Installing floating shelves is one of the more approachable DIY projects — most homeowners with basic tools can complete it in an afternoon. Where I recommend calling in a pro is when you’re dealing with plaster walls, tile backsplashes (drilling into tile without cracking it takes practice), load-bearing considerations for very heavy shelving, or when you don’t have easy stud access and need to add blocking inside the wall. A contractor can also help if you’re planning a whole wall of shelving as part of a larger renovation and want it tied into surrounding trim or built-ins.
Expert Recommendations
If you only take one thing from this guide, make it this: hit a stud whenever possible, and use rated anchors when you can’t. I’ve replaced more failed floating shelves from missed studs than any other cause. For heavier use — think cookbooks, cast iron, or a row of hardcover books — go with a shelf that has a full-length rod system rather than a single center bracket. It spreads the load and resists the tipping that a single bracket point is prone to under heavy weight. If you’re mounting shelves in a kitchen near your kitchen renovation project, plan the shelf height and stud layout at the same time you’re finalizing cabinet placement — it saves you from working around finished tile or backsplash later. For anchor weight ratings and mounting hardware specifications, the OSHA construction resource library is a solid reference if you want to understand load and mounting standards used in professional installations.
Final Thoughts
Floating shelves are one of those projects that look effortless when done right and obviously wrong when they’re not. The secret isn’t fancy tools — it’s taking the extra ten minutes to find your studs, level your bracket, and use the correct anchors for your wall type. Get those fundamentals right, and a floating shelf will hold up for years without a second thought. Rush past them, and you’ll be back at the hardware store patching drywall holes. Take your time on the prep work, and the install itself is genuinely one of the easiest upgrades you can make to a room.
FAQs
How much weight can a floating shelf hold? It depends on the bracket system and whether it’s anchored into studs. Light-duty brackets in drywall alone might hold 10–15 pounds, while stud-mounted rod systems can hold 50 pounds or more. Always check the manufacturer’s rated capacity rather than guessing.
Do I need to hit a stud to install a floating shelf? Not always, but it’s strongly recommended for anything beyond light decorative items. If studs don’t align with your desired placement, use heavy-duty anchors rated for your expected load.
Can I install floating shelves on plaster walls? Yes, but plaster is more brittle and prone to cracking. Drill slowly with a masonry bit at low speed, and consider a pilot hole through the plaster before switching to your standard bit.
What’s the standard height for floating shelves in a kitchen? Many kitchens use 18 inches above the countertop, but this can shift depending on cabinet height and what you’re storing on the shelf.
How far apart should floating shelves be spaced? For a stacked arrangement, 10–12 inches of clearance between shelves is common, giving enough room for most items without feeling cramped.
Can renters install floating shelves without damaging walls? Yes, with heavy-duty removable anchors designed for rental use, though weight capacity will be lower than a stud-mounted install. Always check your lease terms first.
Why is my floating shelf sagging in the middle? This usually means the bracket isn’t fully seated into a stud, or the shelf is overloaded relative to its rated capacity. Longer shelves may need a multi-point rod system rather than a single center bracket.
Do floating shelves work on tile or brick walls? Yes, but you’ll need masonry bits and wall plugs rated for the substrate. Drilling into tile requires extra care to avoid cracking; a masking tape guide and slow drill speed help.