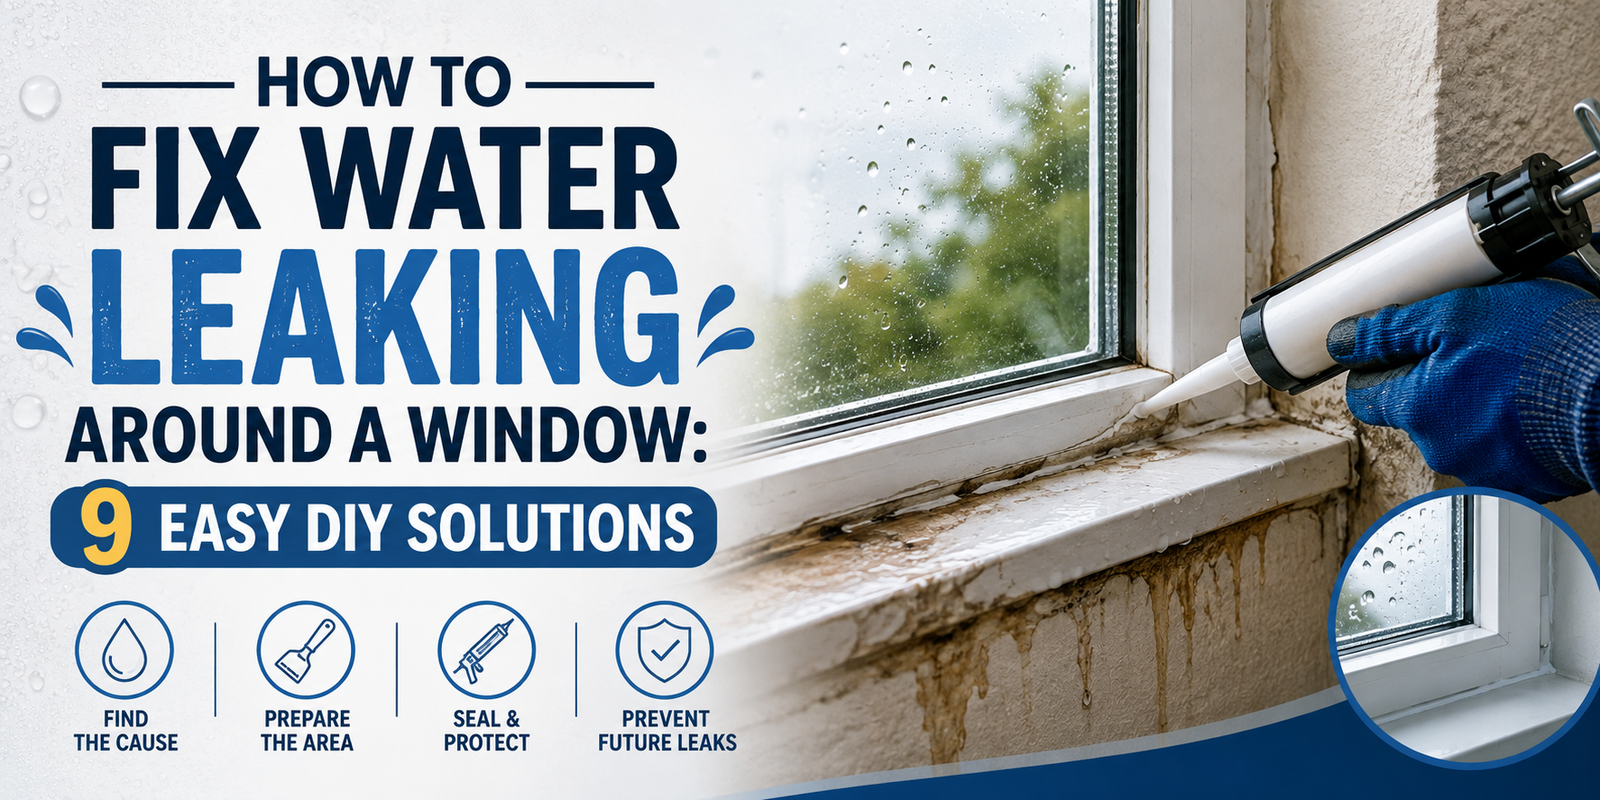
Water leaking around a window can start as a small damp patch, but ignoring it can lead to stained walls, peeling paint, damaged trim, mould, and even hidden damage inside the wall.
The tricky part is finding where the water is actually entering. The visible drip inside your home isn’t necessarily the point where the leak begins. Water can travel behind exterior siding, trim, or the window frame before appearing indoors.
Fortunately, many minor window leaks can be diagnosed and repaired with basic tools and materials. The key is to identify the source before applying new caulk.
In this guide, we’ll cover 9 practical ways to find and fix water leaking around a window, including damaged caulking, blocked drainage, flashing problems, and common exterior sealing issues.
Quick Answer
To fix a leaking window, first determine whether the water is coming from the window itself, damaged exterior caulk, flashing, the frame, or the surrounding wall.
For a minor exterior seal problem, remove loose or cracked caulk, clean and dry the joint, then apply a suitable exterior-grade sealant according to the manufacturer’s instructions.
However, don’t simply caulk every opening. Proper window flashing is designed to direct water outward, and sealing the wrong area can sometimes trap water instead of allowing it to drain. DOE building-science guidance specifically emphasizes correctly integrated flashing around window openings.
What Causes Water to Leak Around a Window?
There are several possible causes.
Common problems include:
- Cracked exterior caulk
- Failed sealant
- Damaged flashing
- Blocked drainage paths
- Loose window trim
- Damaged window frame
- Poor installation
- Failed glazing seals
- Cracks around masonry
- Water entering from above the window
- Damaged siding
- Roof or gutter problems near the window
One important point: not every leak around a window is caused by the window itself.
Water can enter higher up on the wall and travel downward before appearing around the window.
9 Easy Ways to Fix a Leaking Window
1. Find the Exact Source of the Leak
Before repairing anything, inspect the area carefully.
Look at both the inside and outside of the window.
Inside the Home
Check for:
- Water stains
- Damp drywall
- Peeling paint
- Wet trim
- Mould
- Swollen wood
- Damp window sills
Outside
Look for:
- Cracked caulk
- Gaps around the frame
- Damaged flashing
- Loose siding
- Cracked masonry
- Missing sealant
- Damaged trim
Don’t immediately assume the visible water stain is the entry point.
Simple Water Test
If conditions are safe, have one person stay inside while another gently sprays water over the exterior of the window.
Start at the lowest area and gradually work upward.
Don’t use a pressure washer.
The goal is to identify the area where water begins entering, not to force water into the wall.
2. Replace Cracked Exterior Caulk
Damaged caulk is one of the easier window leaks to repair.
Inspect the seal around:
- Window frame
- Exterior trim
- Joints between materials
- Corners
- Areas where the window meets siding
If the caulk is:
- Cracked
- Shrinking
- Peeling
- Detached
- Brittle
it may need replacement.
How to Replace Window Caulk
- Remove loose old caulk.
- Clean the joint.
- Allow the area to dry completely.
- Apply a suitable exterior-grade sealant.
- Tool the bead neatly.
- Allow it to cure according to the product instructions.
Don’t apply new caulk over loose, dirty, or wet material.
The new seal needs a clean and stable surface.
3. Check the Window Flashing
Flashing is one of the most important parts of window water management.
Proper flashing helps direct water away from the window and out of the wall assembly.
DOE Building Science Education explains that window openings interrupt the wall’s drainage plane, making them vulnerable to water intrusion. Properly lapped flashing directs water outward rather than into the wall cavity.
Inspect visible flashing for:
- Gaps
- Damage
- Corrosion
- Incorrect overlaps
- Loose sections
- Missing pieces
If flashing is hidden behind siding or trim, don’t start removing exterior materials unless you’re confident about the construction.
A flashing failure can require more than a simple DIY caulk repair.
4. Inspect the Window Sill and Drainage
The bottom of a window is particularly important because water needs a way to escape.
Look for:
- Blocked drainage openings
- Dirt buildup
- Paint covering drainage paths
- Debris
- Damaged sill
- Standing water
Never intentionally seal a drainage opening that is designed to let water escape.
A window’s drainage system needs to move water toward the exterior.
DOE guidance describes sill flashing as a way to direct water away from vulnerable window openings.
Important
If you see small drainage openings or weep holes, don’t fill them with caulk.
Blocking them can prevent water from escaping.
5. Check the Exterior Trim
Exterior trim can develop gaps over time.
Inspect the joints between:
- Window and trim
- Trim and siding
- Trim corners
- Trim and masonry
Look for movement, cracks, or separation.
If water is entering through a damaged trim joint, repairing the joint may solve the problem.
But again, don’t seal every visible gap automatically.
Some assemblies require drainage paths to remain open.
6. Inspect the Wall Above the Window
This is a step many homeowners miss.
If water appears around a window during heavy rain, the actual entry point could be above the window.
Inspect:
- Siding
- Exterior cladding
- Brickwork
- Mortar joints
- Roof edges
- Gutters
- Downspouts
- Flashing above the window
Water can travel behind exterior materials before appearing around the window.
If the window leak only happens during wind-driven rain, investigate the surrounding wall rather than focusing exclusively on the glass.
7. Repair Small Gaps Around the Frame
Small gaps can sometimes develop between the window frame and surrounding materials.
Depending on the construction, appropriate sealant may be used around certain exterior joints.
Before sealing, make sure the area is:
- Clean
- Dry
- Stable
- Free of loose material
For larger gaps, don’t simply fill the entire space with caulk.
Building Science Education recommends appropriate air-sealing materials such as caulk, low-expansion window-and-door foam, or backer rod depending on the rough-opening condition.
Always follow the window manufacturer’s instructions.
8. Check for Failed Double-Glazing Seals
Not all window moisture is caused by an exterior leak.
If you see fogging or moisture between two panes of glass, the sealed glazing unit may have failed.
Signs include:
- Permanent fogging
- Moisture trapped between panes
- Water droplets inside the glazing
- Hazy glass that doesn’t clean away
This is different from rainwater leaking around the frame.
In many cases, the sealed glass unit may need professional replacement rather than an exterior caulk repair.
9. Repair or Replace Damaged Window Components
Sometimes the leak is caused by damage that sealant alone cannot fix.
Possible problems include:
- Rotten wooden frames
- Cracked vinyl components
- Damaged aluminium frames
- Warped sills
- Broken flashing
- Loose window units
- Severe masonry damage
If the surrounding material is deteriorated, applying more caulk won’t provide a reliable long-term solution.
Repair the underlying damage first.
How to Fix a Window Leak From the Inside
If you’re seeing water indoors, your first instinct may be to seal the interior.
Don’t automatically do this.
The exterior water-management system needs to be investigated first.
For a minor interior air gap, appropriate interior sealant may be useful, but an interior bead of caulk should not be treated as a substitute for proper exterior flashing and drainage.
DOE guidance emphasizes that window openings should be integrated with the building’s drainage plane so water is directed outward.
How to Fix a Window Leaking During Heavy Rain
If the window only leaks during heavy rain, pay particular attention to:
- Exterior flashing
- Upper window trim
- Siding
- Roof-wall intersections
- Gutters
- Downspouts
- Exterior caulk
- Wind-driven rain
Heavy rain can expose weaknesses that aren’t noticeable during normal weather.
If water appears only when rain is blowing directly against the window, the problem may involve the exterior wall’s water-management system rather than a simple window seal.
How to Fix Water Coming Through a Window Sill
If water collects on the interior sill:
First check:
- Is the glass simply covered in condensation?
- Is water coming through the frame?
- Is the water appearing after rain?
- Is the exterior sill damaged?
- Are drainage openings blocked?
If the water appears only during or after rainfall, inspect the exterior sill, flashing, frame joints, and surrounding wall.
Don’t drill holes into the window or frame unless the manufacturer’s instructions specifically call for it.
Can You Fix a Leaking Window With Caulk?
Sometimes.
Caulk can be effective when the actual problem is a failed exterior joint.
But caulk isn’t a universal solution.
It won’t properly repair:
- Failed flashing
- Rotten framing
- Damaged window components
- Incorrect installation
- Major wall leaks
- Failed glazing units
In fact, sealing the wrong location can interfere with drainage.
The University of Minnesota Extension explains that window and door openings need to be integrated with the building’s drainage plane so water is directed outward.
Common Mistakes to Avoid
Caulking Over Old Caulk
Loose or failed material should be removed first.
Sealing Drainage Holes
Don’t block designed drainage paths.
Using Interior Caulk Outside
Exterior joints need a sealant suitable for outdoor exposure.
Ignoring Flashing
A window can have perfect-looking caulk and still leak if the flashing system is defective.
Using a Pressure Washer
High-pressure water can force moisture into areas that normally remain dry.
Repairing Only the Interior
A water stain inside the house doesn’t necessarily mean the leak starts there.
Ignoring Water Above the Window
Water can enter from siding, roofing, gutters, or wall penetrations above the window.
When Should You Call a Professional?
DIY repair may be reasonable for a small failed caulk joint.
However, get professional help if:
- Water continues after resealing.
- The wall feels soft.
- You see significant mould.
- The window frame is rotten.
- Flashing is inaccessible.
- The leak appears inside the wall.
- Water enters during heavy rain.
- Multiple windows are leaking.
- The window appears incorrectly installed.
- Structural damage is suspected.
If the water has reached electrical components, stop and get professional assistance rather than investigating the area yourself.
How to Prevent Future Window Leaks
Regular inspection can help catch problems early.
At least once or twice a year, inspect:
- Exterior caulk
- Window trim
- Flashing
- Siding
- Drainage openings
- Window frames
- Interior sills
- Nearby gutters and downspouts
Look for small cracks before they become larger openings.
Also keep your windows maintained. Our Window Cleaning Services guide covers general window-care practices.
Contractor’s Tip
Don’t start with the caulk gun. Start with the water path.
A window leak is often a water-management problem.
Before sealing anything, ask:
Where is the water entering, and where is it supposed to drain?
Properly designed window flashing works by directing water outward and downward. If you simply seal every opening you can see, you may accidentally trap water inside the wall.
That is why diagnosis should always come before repair.
Final Thoughts
A leaking window doesn’t always mean you need a new window.
If the problem is a cracked exterior seal, blocked drainage, or minor trim gap, a careful DIY repair may solve it.
But if the leak involves flashing, hidden wall damage, rotten framing, or incorrect installation, the repair can be more complicated.
Start by identifying the source, inspect the exterior carefully, repair obvious failed seals, and make sure water has a clear path to drain outside.
Most importantly, don’t confuse condensation with rainwater intrusion. If your window is wet every morning but there are no signs of rain-related leakage, our previous guide How to Stop Condensation on Windows is the better place to start.
FAQs
Why is water leaking around my window when it rains?
Possible causes include damaged caulk, flashing problems, blocked drainage, damaged trim, siding issues, or water entering the wall above the window.
Can I fix a leaking window with caulk?
You can repair some minor leaks caused by failed exterior joints with suitable sealant. However, caulk won’t fix damaged flashing, rotten framing, or major water-management problems.
Should I caulk the bottom of a window?
Don’t automatically seal the bottom or block drainage openings. Some window systems are designed to drain water through specific paths. Follow the manufacturer’s instructions.
How do I find where my window is leaking?
Inspect both sides of the window. Look for water stains indoors and damaged seals, flashing, trim, siding, and drainage paths outside. A controlled hose test can sometimes help identify the entry point.
Why does my window leak only during heavy rain?
Wind-driven rain can expose weaknesses in flashing, exterior seals, siding, trim, or the surrounding wall.
Why is water coming through my window sill?
The cause could be blocked drainage, damaged flashing, failed seals, or water entering from above or around the frame.
Can a leaking window cause mould?
Yes. Persistent moisture can create conditions that contribute to mould growth and damage surrounding materials.
Should I replace a window that leaks?
Not necessarily. A failed caulk joint or drainage problem may be repairable. Replacement may be appropriate when the window or surrounding structure is severely damaged.
Why is there water between my double-glazed panes?
Moisture between panes can indicate a failed sealed glazing unit. It usually requires professional assessment rather than simple caulking.
How often should I inspect window seals?
A visual inspection once or twice a year is a sensible maintenance habit, with additional checks after severe storms.