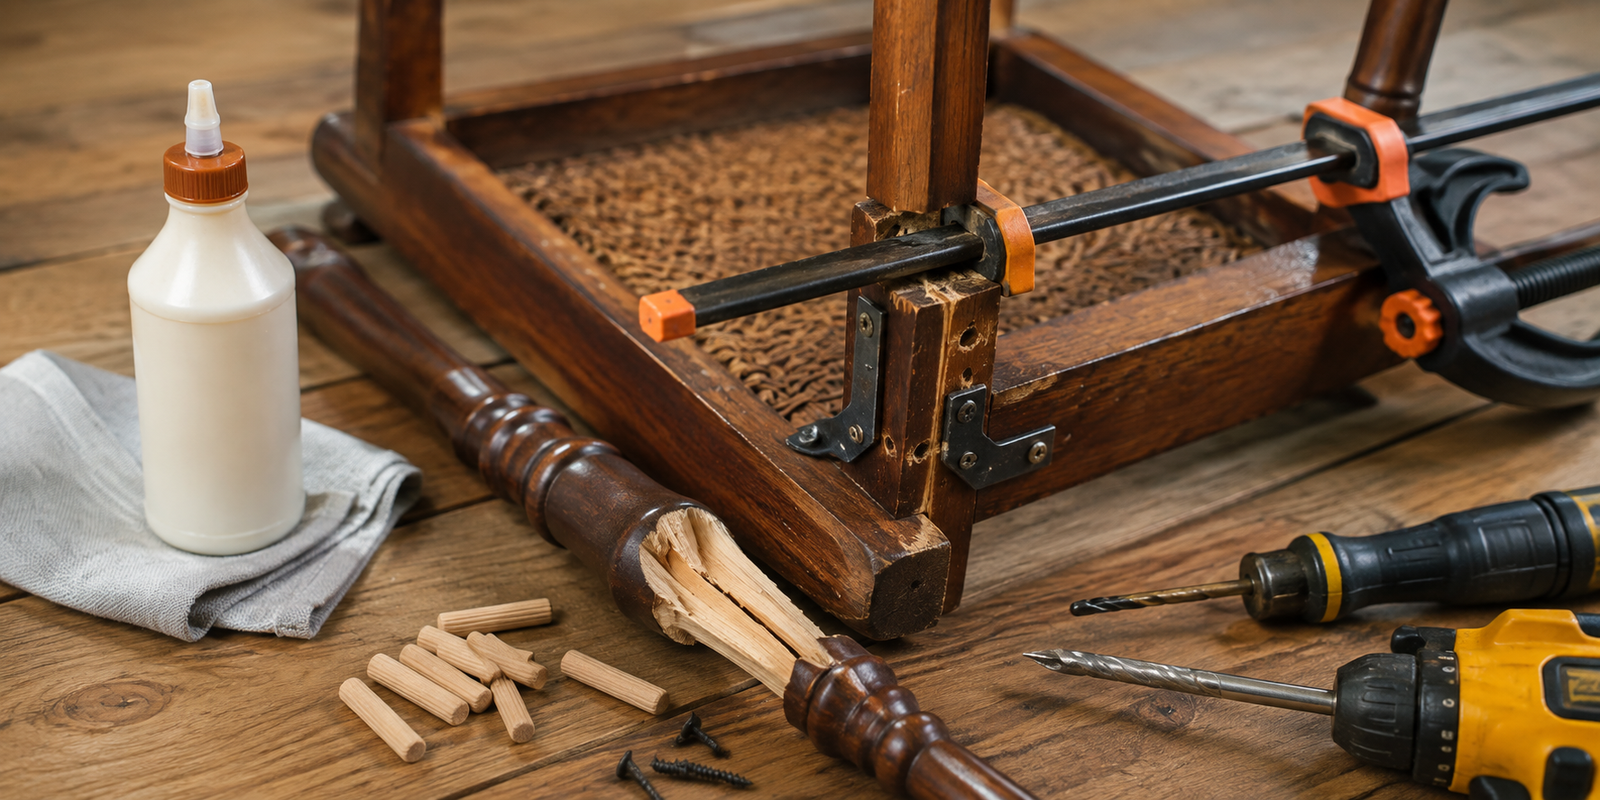
A broken chair leg can make a useful piece of furniture unstable and unsafe. The damage may be a clean split, a cracked section near the joint, a broken dowel, or a leg that has separated from the chair frame.
Not every broken chair leg needs to be thrown away. Minor to moderate damage can sometimes be repaired at home when the surrounding wood and frame are still structurally sound.
Before starting, inspect the entire chair rather than focusing only on the broken leg. If the chair is already unstable but you aren’t sure where the problem is coming from, our guide on How to Fix a Wobbly Chair can help you identify the source.
Quick Answer: A broken wooden chair leg can often be repaired by cleaning the damaged area, applying suitable wood adhesive, aligning the pieces correctly, and clamping the repair until fully cured. More severe cracks may require dowels, screws, braces, or professional furniture repair.
What Causes a Chair Leg to Break?
Chair legs experience repeated loads every time someone sits down, stands up, or moves the chair.
Common causes include:
- Loose joints
- Excessive weight
- Repeated rocking
- Dragging the chair
- Impact damage
- Dry or deteriorated wood
- Poor previous repairs
- Cracks around joints
- Loose screws or bolts
- Long-term wear
A chair leg can also break because another part of the frame has become loose and transferred excessive stress to the leg.
How to Tell If a Broken Chair Leg Can Be Repaired
Not every damaged leg is a good DIY repair candidate.
Usually Repairable
A repair may be practical when:
- The break is relatively clean.
- Most of the wood is still intact.
- The surrounding frame is solid.
- The damage is limited to one area.
- The pieces fit back together accurately.
More Serious Damage
Be more cautious when:
- The leg is badly splintered.
- Large pieces of wood are missing.
- The frame is cracked in several locations.
- The joint has completely failed.
- The wood shows rot.
- The chair collapses under very light pressure.
A structural repair needs to restore strength, not simply make the crack look better.
Tools and Materials You’ll Need
Depending on the damage, you may need:
- Wood glue suitable for furniture repair
- Clamps
- Screwdriver
- Drill
- Drill bits
- Sandpaper
- Wood dowels
- Appropriate screws
- Wood filler for cosmetic repairs
- Measuring tape
- Clean cloth
- Safety glasses
You won’t necessarily need all of these.
For a clean break, adhesive and clamps may be enough. A heavily damaged joint may require mechanical reinforcement.
7 Ways to Repair a Broken Chair Leg
1. Clean and Re-Glue a Clean Break
A relatively clean break is one of the easier types of chair-leg damage to repair.
First, remove loose splinters and debris without removing sound wood that helps the pieces fit together.
Dry-fit the broken pieces before applying adhesive.
If they fit together correctly:
- Apply an appropriate wood adhesive.
- Bring the broken sections together.
- Align the leg carefully.
- Clamp the repair.
- Wipe away excess adhesive.
- Leave it undisturbed for the manufacturer’s recommended curing period.
Don’t rush the final step.
A chair can look repaired while the adhesive is still too weak for normal loads.
2. Reinforce the Break With a Dowel
If the broken section needs more structural support, a wooden dowel can reinforce the connection.
This method requires more accuracy than simply applying glue.
The basic process is:
- Mark the center of the damaged joint.
- Drill aligned holes into both pieces.
- Cut an appropriate dowel to length.
- Apply adhesive.
- Insert the dowel.
- Reassemble the pieces.
- Clamp until fully cured.
The holes must remain properly aligned.
If they are off-center, the repaired chair leg may sit at an angle.
Tip
Measure twice before drilling. Once material has been removed, correcting a badly positioned hole can become much more difficult.
3. Use a Suitable Screw for Additional Support
A screw can sometimes provide additional mechanical support alongside adhesive.
This is particularly useful where the chair’s design allows a fastener to pass through a structurally sound section of wood.
However, don’t simply drive a long screw through the broken area without planning the repair.
The screw should:
- Be appropriate for the wood.
- Be long enough to provide useful engagement.
- Not emerge from the other side.
- Avoid splitting already damaged wood.
Pre-drilling can help reduce the risk of splitting.
4. Repair a Broken Joint
Sometimes what looks like a broken leg is actually a failed joint between the leg and the chair frame.
In this situation, the repair should focus on the connection rather than simply covering the visible crack.
Remove loose adhesive and debris where practical.
Then:
- Check how the joint fits.
- Clean the mating surfaces.
- Apply suitable adhesive.
- Reassemble the joint.
- Check alignment.
- Clamp securely.
If the leg is also loose before breaking, you may want to review our How to Fix a Loose Chair Leg guide for additional repair options.
5. Add a Corner Brace
A suitable metal corner brace can reinforce some chair designs.
This method works best when there is enough solid wood for the brace to attach securely.
Position the brace so it connects the damaged area to a structurally sound part of the frame.
Then mark the holes and install appropriate screws.
Be Careful With Screw Length
A screw that is too long can emerge through the opposite side of the chair leg or frame.
Always check the thickness of the material before installing hardware.
6. Replace a Severely Damaged Section
Sometimes repairing the original piece isn’t the best solution.
If a section of the chair leg is missing, badly crushed, or extensively split, you may need to replace that portion or the entire leg.
This can involve:
- Matching the wood type
- Measuring the original dimensions
- Cutting a replacement section
- Creating matching joints
- Gluing and reinforcing the new piece
- Sanding and refinishing
This is more advanced than a simple DIY repair.
If the chair has significant sentimental or financial value, professional furniture restoration may be worthwhile.
7. Replace the Entire Chair Leg
When the original leg is too badly damaged to repair reliably, replacing it may be the safest option.
A replacement leg needs to match the chair in:
- Height
- Thickness
- Mounting method
- Angle
- Wood strength
- Joint design
The new leg should also sit at the same height as the other legs.
An uneven replacement can create a new wobble even if the repair itself is strong.
How to Clamp a Repaired Chair Leg
Clamping is important when adhesive is part of the repair.
The clamp should hold the pieces together without crushing the wood.
Before tightening:
- Check the alignment.
- Make sure the leg is straight.
- Protect finished surfaces with suitable padding.
- Tighten gradually.
- Wipe away excess adhesive.
Don’t rely on excessive clamp pressure to compensate for a poor-fitting joint.
Good alignment is more important than extreme pressure.
How Long Should a Repaired Chair Leg Dry?
The curing time depends on the adhesive.
Always follow the manufacturer’s instructions rather than assuming that the glue is ready after a short period.
Even if the adhesive feels hard on the surface, the joint may not have reached its full strength.
Avoid sitting on the chair until the repair has fully cured.
How to Test the Repair
Don’t immediately put your full weight on the chair.
Instead:
Step 1
Place the chair on a level floor.
Step 2
Check whether all legs contact the floor properly.
Step 3
Gently push the chair from different directions.
Step 4
Listen for cracking, clicking, or movement.
Step 5
Inspect the repaired area.
If you see movement around the repaired joint, stop using the chair and reassess the repair.
When You Should Not DIY the Repair
A broken chair leg can become a safety issue if the damage affects the main structure.
Avoid using the chair until it’s properly repaired if:
- The leg is badly split.
- Multiple legs are damaged.
- The frame is cracked.
- The chair collapses under light pressure.
- There is significant wood rot.
- A metal frame is cracked or bent.
- The repair requires specialist restoration skills.
The U.S. Consumer Product Safety Commission has documented chair recalls where structural failures could cause chairs to break or collapse, so a visibly compromised chair should not simply be returned to service without checking its structural condition.
For additional consumer-safety information, see the U.S. Consumer Product Safety Commission’s chair safety information.
Common Mistakes When Repairing a Broken Chair Leg
Using Only Wood Filler
Wood filler can improve appearance, but it shouldn’t be treated as a structural replacement for missing wood.
Skipping Alignment
A repaired leg that’s slightly crooked can make the entire chair unstable.
Using Too Much Glue
More adhesive doesn’t automatically mean a stronger joint.
Sitting on the Chair Too Soon
Give the repair enough time to cure.
Using an Oversized Screw
A large screw can split damaged wood.
Ignoring the Rest of the Chair
A broken leg may be a symptom of another weakened joint.
How to Prevent Chair Legs From Breaking
A few simple habits can reduce stress on chair legs.
Don’t Rock Back on Two Legs
This places excessive force on the rear joints.
Lift Instead of Dragging
Dragging can stress joints and fasteners.
Check Loose Joints Early
Repairing a loose joint before it breaks is usually easier.
Keep Wooden Furniture Dry
Avoid prolonged exposure to moisture.
Inspect Older Chairs
Look for cracks, separation, and movement before regular use.
Broken Chair Leg vs. Loose Chair Leg
These problems aren’t exactly the same.
Loose Chair Leg
The leg is still intact but moves at the joint or hardware connection.
Broken Chair Leg
The wood or structural component has physically cracked, split, or separated.
If the leg is intact but simply moving, start with our How to Fix a Loose Chair Leg guide instead of immediately attempting a structural repair.
Final Thoughts
A broken chair leg doesn’t always mean the furniture is beyond repair.
A clean break may be repairable with suitable adhesive and careful clamping, while more serious damage may require dowels, screws, braces, or replacement parts.
The most important thing is to restore structural strength rather than simply hide the damage.
If the chair remains unstable after repair, don’t use it until the underlying problem has been properly addressed.
FAQs
Can a broken wooden chair leg be repaired?
Yes, some broken wooden legs can be repaired if the surrounding material remains structurally sound. The appropriate method depends on the type and location of the break.
Is wood glue strong enough to repair a chair leg?
Wood glue can be suitable for properly fitted wooden joints, but severely damaged structural components may require additional reinforcement or replacement.
Can I use screws to fix a broken chair leg?
A suitable screw can provide additional mechanical support in some chair designs, but it should be correctly sized and installed without splitting the wood.
Should I use wood filler on a broken chair leg?
Wood filler is mainly useful for cosmetic repairs and minor imperfections. It shouldn’t be relied on as the primary structural repair for a broken load-bearing leg.
How long should I wait before sitting on a repaired chair?
Wait until the adhesive or other repair materials have fully cured according to the manufacturer’s instructions.
Is it better to repair or replace a broken chair leg?
Repair is often practical when the damage is limited and the surrounding frame is strong. Replacement may be better when the leg is severely damaged or structurally compromised.
Why did my repaired chair leg break again?
The original cause may not have been addressed, the joint may have been poorly aligned, or the damaged wood may not have been strong enough for the repair.