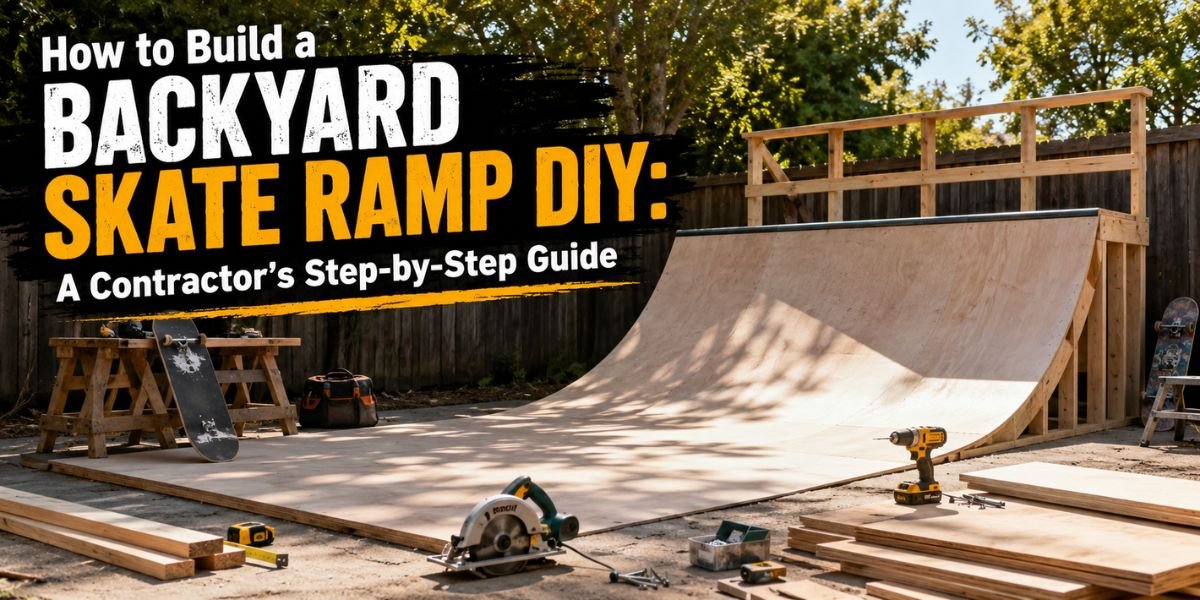
I get this question a lot from parents and skateboarders alike: “Can I really build a skate ramp in my own backyard without hiring a contractor?” The short answer is yes — but there’s a right way and a wrong way to do it, and I’ve seen both. I once got called out to inspect a ramp a homeowner built for his teenage son, and the plywood surface had already started delaminating after one rainy season because nobody sealed the edges. It wasn’t unsafe yet, but it was headed that way fast.
Learning how to build a backyard skate ramp DIY isn’t complicated once you understand the framing, the materials, and a few structural basics — the same principles I’d apply to a deck or a small outbuilding. This guide walks you through the entire process, from planning and permits to the actual build, so you end up with something sturdy, safe, and fun to ride for years.
Quick Answer
A basic backyard skate ramp — like a quarter pipe or mini ramp — is built using a pressure-treated 2×4 or 2×6 frame, 3/4-inch plywood ribs for the curved transition, 3/4-inch plywood or Baltic birch decking, and a Skatelite or Masonite riding surface. Most DIYers can build a simple 4-foot-wide quarter pipe in a weekend for $300 to $800, while a larger mini ramp with two transitions can run $1,500 to $4,000+ depending on size and materials. Budget extra time for cutting curved ribs accurately — that’s the step most people underestimate.
What It Is
A backyard skate ramp is a wooden (occasionally steel-framed) structure that lets skateboarders, scooter riders, or BMX riders practice tricks on a curved or angled surface. The most common backyard builds are:
- Quarter pipe – a single curved ramp, good for beginners and small yards
- Mini ramp – two quarter pipes facing each other with a flat bottom, ideal for more advanced riding
- Launch ramp or bank ramp – a simple straight incline, the easiest structure to build
Structurally, these ramps work the same way a small deck or shed frame does: a load-bearing skeleton of dimensional lumber, sheathed in plywood, with a wear-resistant riding surface on top. If you’ve ever framed a deck, you already understand 80% of what’s involved here.
Benefits
- Cheaper than a skatepark trip over time, especially if you have multiple riders in the house
- Customizable size and shape to fit your yard and skill level
- Increases usable outdoor space for kids and teens
- Can be built modular so it’s movable or expandable later
- Genuinely satisfying build — this is a great intro project if you want to build DIY confidence before tackling bigger things like a deck or pergola
Drawbacks
- Weather exposure — untreated ramps rot, warp, and delaminate fast; you either need a covered area or a sealed, weather-rated build
- Noise — skateboard trucks and wheels on plywood are loud; check with neighbors before committing to a spot near a shared fence line
- HOA and permit issues — some municipalities and HOAs regulate backyard structures over a certain height or footprint
- Liability — if kids other than your own use it, understand your homeowner’s insurance coverage
- Space commitment — even a small quarter pipe eats up 4×8 feet of yard, plus a rollout zone
Cost Breakdown
Costs vary quite a bit depending on your region, lumber prices, and how big you go. These are general ranges — always confirm current material pricing at your local lumberyard, since prices can swing seasonally.
Budget build (basic 3-4 ft quarter pipe, 4 ft wide):
- Pressure-treated 2×4 framing: $60-$100
- 3/4-inch CDX plywood (ribs and decking): $150-$220
- Masonite riding surface: $30-$50
- Screws, bolts, hardware: $40-$60
- Total: roughly $300-$450
Mid-range build (5-6 ft mini ramp section):
- Framing lumber: $150-$250
- Marine-grade or Baltic birch plywood: $300-$500
- Skatelite surface (more durable than Masonite): $200-$400
- Coping (steel pipe for the lip): $50-$150
- Hardware and fasteners: $80-$120
- Total: roughly $1,500-$2,500
Premium build (full mini ramp with extension, professional-grade materials):
- High-grade plywood throughout, galvanized hardware, full Skatelite surface, steel coping, possibly a roof cover
- Total: $3,000-$6,000+
The two biggest cost swings are plywood grade and riding surface. Masonite is cheap but wears out in a season or two of regular riding. Skatelite lasts significantly longer and rides smoother, which is why most skatepark builders use it, but it costs several times more per sheet.
Materials Needed
- Pressure-treated 2x4s or 2x6s (framing)
- 3/4-inch CDX or marine-grade plywood (ribs and deck skin)
- Riding surface: Masonite (budget) or Skatelite/Ramp Armor (durable)
- 3-inch and 1.25-inch exterior-rated screws
- Carriage bolts for structural joints
- Steel coping pipe (1.5-2 inch, schedule 40) if building a mini ramp with a proper lip
- Wood glue (exterior-rated)
- Concrete deck blocks or footings if the ramp sits directly on soil
- Exterior wood sealant or paint
Tools Required
- Circular saw and jigsaw (jigsaw is essential for cutting curved ribs)
- Drill/driver
- Framing square and level
- Tape measure
- Clamps
- Sawhorses
- Flexible material (like hardboard strip) to trace your transition curve
- Safety glasses and hearing protection
Skill Level: Intermediate. If you’ve built a deck, shed, or done framing work before, this is very achievable. First-time builders can do it too, but expect the curved ribs to take patience.
Estimated Time: A basic quarter pipe: one full weekend. A mini ramp: one to two weekends, or longer if working solo.
Step-by-Step Guide
1. Plan Your Layout and Check Local Rules
Measure your available yard space, including rollout room at the bottom of the ramp (minimum 4-6 feet of flat, clear space). Check with your city or HOA about height restrictions — some areas require a permit for structures over a certain height, similar to shed or fence regulations. It’s a five-minute phone call that can save you a headache later.
2. Design Your Transition Curve
The transition is the curved part of the ramp — this is what separates a good ramp from a rough one. Use a simple formula or a flexible strip of hardboard bent between two fixed points to trace a smooth arc onto plywood. Most backyard quarter pipes use a 3-4 foot radius transition.
3. Cut the Ribs
Cut your curved ribs from 3/4-inch plywood using the traced pattern. Cut two identical ribs for a narrow ramp, or one every 12-16 inches on center for wider ramps to prevent sagging in the deck surface.
4. Build the Frame
Assemble the ribs onto a base frame built from pressure-treated 2x4s, similar to floor joists in framing. Add a flat bottom section if you’re building a mini ramp. Use carriage bolts at major structural joints — screws alone can work loose under repeated impact.
5. Sheath the Ramp
Skin the frame with plywood, typically two layers: a structural layer of 3/4-inch plywood, then a thinner riding surface layer on top. Stagger seams so they don’t line up with the ribs below.
6. Install Coping (Mini Ramps Only)
If you’re building a mini ramp, bolt steel pipe coping to the top edge of the transition. This is what allows riders to grind and lip tricks, and it also protects the plywood edge from chipping.
7. Apply the Riding Surface
Screw down your Masonite or Skatelite sheet with countersunk screws every 6-8 inches along the ribs. Countersinking matters — proud screw heads will catch wheels and cause falls.
8. Seal and Finish
Seal all exposed plywood edges, especially the underside and any joints, with exterior sealant or paint. This is the step that determines whether your ramp lasts two years or eight.
Common Mistakes
- Skipping the curve template and eyeballing the transition — this creates a bumpy, inconsistent ride
- Using interior-grade plywood that delaminates the first time it gets rained on
- Not enough ribs, leading to a bouncy or sagging deck surface
- Proud screw heads on the riding surface — always countersink
- Ignoring drainage — if the ramp sits directly on grass or dirt, water pools underneath and rots the frame from below
- Underbuilding the base — treating this like a lightweight project instead of a structure that takes real repeated impact
Safety Considerations
- Wear a helmet and pads when riding, especially while the ramp is new and riders are still learning the transition
- Inspect the ramp monthly for loose screws, soft plywood, or cracking at stress points
- Keep the landing zone clear of rocks, roots, or uneven ground
- If minors other than your own children will use the ramp, talk to your insurance provider about liability coverage
- Don’t ride during or right after rain — wet Masonite and Skatelite get slippery
Maintenance Tips
- Re-seal exposed edges annually, or every six months in wet climates
- Replace the riding surface once it shows heavy wear, cupping, or splintering — this is a wear item, not a permanent part
- Check bolted joints twice a year and re-tighten as needed
- Consider a simple tarp cover or building under a covered patio area to extend the ramp’s life significantly
Professional vs DIY Comparison
| Factor | DIY Build | Professional Build |
|---|---|---|
| Cost | $300-$4,000 depending on size | Often 2-3x higher due to labor |
| Timeline | 1-2 weekends | Faster, but scheduling delays common |
| Customization | Full control over size/shape | Also customizable, but costs more per change |
| Quality control | Depends on builder’s experience | Consistent, code-aware construction |
| Best for | Simple quarter pipes, budget builds | Large mini ramps, vert ramps, permanent installations |
If you’re building a basic quarter pipe or small bank ramp, DIY is very reasonable for anyone with moderate carpentry experience. For larger mini ramps or anything involving structural coping and steel, it’s worth at least consulting a contractor experienced in ramp or deck-style framing — the loads and repeated impact stress are different from typical residential framing, and getting it wrong affects safety, not just aesthetics.
Expert Recommendations
After years around residential builds, here’s what I tell homeowners tackling this project:
- Don’t cheap out on the riding surface. Masonite is fine for a starter ramp, but if your rider is serious, Skatelite pays for itself in fewer replacements and a better ride.
- Build wider than you think you need. A 4-foot-wide ramp feels cramped fast; 6-8 feet is much more comfortable if your yard allows it.
- Set it on a level base, ideally concrete deck blocks, not directly on grass or dirt.
- Treat this like a structural project, not a weekend craft project — because structurally, that’s exactly what it is.
For homeowners planning other yard structures alongside a ramp — like a shed foundation or a small patio pad — our guide on concrete slab installation basics covers what you need to know about site prep and drainage, which applies here too.
For safety standards around ramp coping heights and general skatepark construction guidelines, the Skatepark Association of the USA is a solid, trusted reference if you want to build closer to skatepark-grade specifications.
Conclusion
Building a backyard skate ramp is a very doable weekend project if you approach it like the structural build it actually is — solid framing, properly cut transitions, weather-sealed materials, and a riding surface built to handle real impact. Start small with a quarter pipe if you’re new to this kind of carpentry, use pressure-treated lumber and exterior-rated plywood throughout, and don’t skip the sealing step. Do it right the first time, and you’ll get years of use out of it instead of a rebuild after one rainy season.
FAQs
Do I need a permit to build a backyard skate ramp? It depends on your city and HOA. Structures under a certain height (often 30 inches, but this varies) are usually exempt, but always check locally before you build, since rules differ by municipality.
What’s the cheapest way to build a skate ramp? A small quarter pipe using pressure-treated 2×4 framing, CDX plywood, and a Masonite riding surface is the most budget-friendly option, typically landing in the $300-$450 range.
How long does a DIY skate ramp last? With proper sealing and a covered or well-drained location, a well-built ramp can last 5-10 years. Left exposed to weather without sealing, plywood can start failing within one to two seasons.
Can I build a mini ramp by myself, or do I need help? It’s possible solo, but a mini ramp involves large plywood sheets and heavy framing sections that are much easier to handle with a second set of hands, especially during the sheathing step.
What size ramp is best for a beginner? A 3 to 4-foot-tall quarter pipe with a 4-foot radius transition is a common, manageable starting point for new riders.
Should I use Skatelite or Masonite for the riding surface? Masonite is cheaper and fine for casual or beginner use, but it wears faster. Skatelite costs more upfront but rides smoother and lasts significantly longer under regular use.
Can I build a skate ramp on grass, or do I need a concrete pad? You can build directly on grass with concrete deck blocks for support, but a level concrete or paver pad improves drainage and stability, and it’s worth the extra step if you’re building anything larger than a small quarter pipe.
Is it cheaper to buy a prefab skate ramp instead of building one? Small prefab ramps can be cost-competitive for very basic setups, but custom DIY builds usually offer better value once you factor in the size and durability you get for the money, especially for mini ramps.