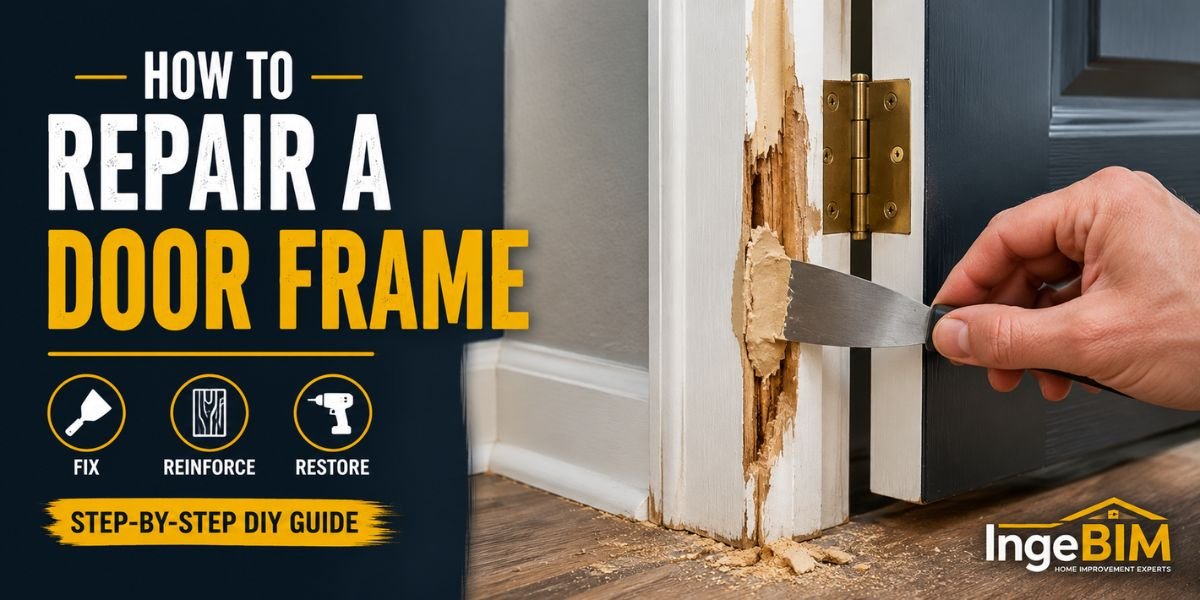
Introduction
A damaged door frame doesn’t just affect the appearance of your home—it can also make the door difficult to open, prevent it from latching properly, reduce security, and allow unwanted drafts inside.
The good news is that many common door frame problems, including cracks, dents, chipped wood, loose trim, and minor rot, can be repaired without replacing the entire frame. With a few basic tools and quality repair materials, most homeowners can restore a damaged frame in a single afternoon.
In this guide, you’ll learn how to identify different types of door frame damage, choose the right repair method, and restore both the strength and appearance of your door frame.
If your door won’t close properly because of alignment issues, read our guide on How to Fix a Door That Won’t Latch before starting this repair.
Common Causes of Door Frame Damage
Door frames experience constant wear from everyday use and environmental conditions.
The most common causes include:
- Heavy impacts
- Moisture damage
- Wood rot
- Loose screws
- House settling
- Poor installation
- Slamming doors
- Pest damage
- Age-related wear
Identifying the cause helps you choose the correct repair method and prevents the problem from returning.
Signs Your Door Frame Needs Repair
Watch for these warning signs:
- Visible cracks
- Splintered wood
- Soft or rotten areas
- Loose trim
- Gaps around the frame
- Door rubbing against the frame
- Difficulty locking the door
- Drafts around exterior doors
Repairing these problems early helps avoid more expensive structural repairs later.
Tools and Materials You’ll Need
Before starting, gather these supplies:
Tools
- Phillips screwdriver
- Utility knife
- Putty knife
- Hammer
- Chisel
- Sanding block (120 & 220 grit)
- Caulking gun
- Paintbrush
Materials
- Wood filler
- Two-part wood epoxy (for deeper damage)
- Wood glue
- Finishing nails
- Paintable caulk
- Primer
- Matching paint or wood stain
Step 1: Inspect the Entire Door Frame
Before making any repairs, carefully inspect every part of the frame.
Check the:
- Side jambs
- Head jamb
- Door stop
- Trim
- Threshold area
- Screw holes
Press gently on suspicious areas with a screwdriver.
If the wood feels soft or crumbles easily, moisture damage or rot may be present.
Step 2: Remove Loose or Damaged Material
Never apply filler over loose wood.
Follow These Steps
- Remove peeling paint.
- Cut away splintered wood.
- Scrape out loose filler.
- Remove rotten material completely.
- Vacuum away dust and debris.
A clean surface allows repair materials to bond much more effectively.
Step 3: Repair Small Cracks and Holes
Minor cosmetic damage is easy to fix.
Here’s How
- Apply wood filler using a putty knife.
- Press the filler firmly into the crack.
- Slightly overfill the damaged area.
- Allow it to dry according to the manufacturer’s instructions.
- Sand the surface until smooth.
Most small repairs disappear completely after priming and painting.
Step 4: Repair Deep Damage with Wood Epoxy
Large holes and structural damage require a stronger repair material.
Two-part wood epoxy bonds firmly to damaged wood and creates a durable, long-lasting repair.
Steps
- Mix the epoxy according to the instructions.
- Fill the damaged area completely.
- Shape the epoxy before it hardens.
- Allow it to cure fully.
- Sand it smooth until level with the surrounding wood.
Wood epoxy is an excellent choice for repairing exterior door frames exposed to weather.
If the damaged frame has caused your door to stick or refuse to close properly, follow our guide on How to Replace Door Hinges to check whether worn hinges are also contributing to the alignment problem.
Step 5: Repair Rotten Sections of the Door Frame
Wood rot is one of the most common problems affecting exterior door frames. It usually develops after years of exposure to rain, humidity, or poor sealing.
If only a small section is affected, you can repair it instead of replacing the entire frame.
Follow These Steps
- Remove all soft or rotten wood using a chisel.
- Clean the area thoroughly.
- Apply a wood hardener if recommended by the manufacturer.
- Fill the cavity with a two-part wood epoxy.
- Shape the repair to match the original frame.
- Allow it to cure completely before sanding.
If more than one-third of the frame is rotten, replacing that section is often the better long-term solution.
Step 6: Secure Loose Door Jambs
A loose door jamb can make the door difficult to close and may create gaps around the frame.
How to Fix It
- Inspect the jamb for movement.
- Tighten all visible screws.
- Replace damaged screws with longer wood screws if needed.
- Add finishing nails where trim has loosened.
- Recheck the frame for stability.
A solid jamb improves both security and the overall performance of the door.
Step 7: Fill Gaps Around the Frame
Small gaps can let in drafts, moisture, insects, and outdoor noise.
Repair Process
- Remove old or damaged caulk.
- Clean the surface thoroughly.
- Apply a smooth bead of paintable exterior caulk.
- Smooth it with a damp finger or caulking tool.
- Allow it to dry completely before painting.
Proper sealing helps improve both comfort and energy efficiency.
Step 8: Sand, Prime, and Paint
After the repairs have cured, finish the frame to match the rest of the door.
Steps
- Sand repaired areas using 120-grit sandpaper.
- Finish with 220-grit for a smooth surface.
- Remove all sanding dust.
- Apply a quality primer.
- Paint or stain to match the existing finish.
- Allow adequate drying time before using the door.
A properly finished repair protects the wood and restores the appearance of the frame.
Common Mistakes to Avoid
Avoid these common DIY errors:
- Filling over rotten wood.
- Skipping the sanding process.
- Painting before filler has fully cured.
- Using interior filler on exterior frames.
- Ignoring moisture problems.
- Applying too much caulk.
- Failing to prime repaired wood.
Taking the time to prepare the surface correctly will produce a stronger and longer-lasting repair.
Expert Maintenance Tips
Regular maintenance keeps your door frame in excellent condition.
- Inspect exterior frames twice a year.
- Repaint peeling finishes promptly.
- Keep weatherstripping in good condition.
- Seal gaps before the rainy season.
- Check for moisture after heavy storms.
- Repair small cracks before they grow larger.
Preventive maintenance is far less expensive than replacing an entire door frame.
Keeping the frame in good condition is only part of proper door maintenance. If your door handle feels loose or wobbly, our How to Fix a Loose Door Handle guide explains how to restore smooth, secure operation with a few simple DIY steps.
Properly sealing gaps around exterior doors helps reduce drafts and improve your home’s energy performance. This Old House offers practical advice on weatherproofing doors and maintaining exterior woodwork for long-term durability.
Pro Tip
When repairing an exterior door frame, always identify and fix the source of moisture before applying wood filler or epoxy. Otherwise, the damage is likely to return even after the repair looks complete.
Final Thoughts
Repairing a damaged door frame is a practical DIY project that improves your home’s appearance, security, and energy efficiency. By fixing cracks, repairing rot, sealing gaps, and refinishing the surface, you can extend the life of your door frame without the expense of a full replacement.
Routine inspections and prompt repairs will help prevent moisture damage and keep your doors operating smoothly for years to come.
Frequently Asked Questions
Can a damaged door frame be repaired without replacing it?
Yes. Small cracks, dents, chipped wood, loose trim, and minor rot can usually be repaired using wood filler or two-part epoxy. However, severe structural damage or extensive rot may require replacing part or all of the frame.
What causes a door frame to crack?
Door frames commonly crack due to house settling, repeated door slamming, moisture damage, accidental impacts, or aging wood. Repairing the damage early helps prevent it from spreading.
How long does a door frame repair take?
Most minor repairs take 2–4 hours, including drying time for fillers or epoxy. Larger repairs may require additional curing time before sanding and painting.
Can I repair a rotten exterior door frame myself?
Yes, if the rot is limited to a small area. Remove all damaged wood, apply a wood hardener if needed, fill the area with a two-part epoxy, then sand, prime, and paint the repair. If the rot is extensive, replacing the damaged section is usually the better option.
Should I paint a repaired door frame?
Absolutely. Primer and paint protect the repaired area from moisture, improve durability, and help the repair blend seamlessly with the rest of the frame.
When Should You Replace Instead of Repair?
Repairing a door frame is often the most cost-effective solution, but replacement is recommended when:
- More than one-third of the frame is rotten.
- Large structural cracks affect stability.
- Termite or insect damage is severe.
- The frame no longer supports the door properly.
- Multiple repairs have already failed.
Replacing a severely damaged frame restores security, improves insulation, and prevents recurring problems.