Introduction
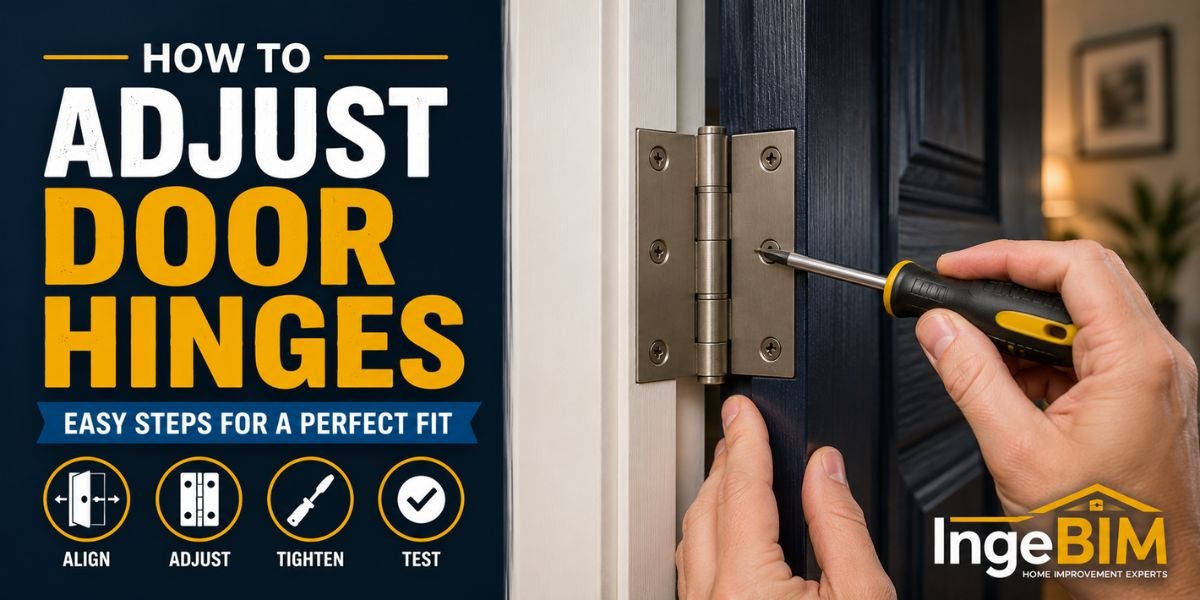
A door that rubs against the frame, won’t close properly, or has uneven gaps often doesn’t need to be replaced. In many cases, a simple hinge adjustment is enough to restore smooth operation and proper alignment.
Loose screws, worn hinges, house settling, and everyday use can gradually pull a door out of position. Fortunately, adjusting door hinges is an inexpensive DIY repair that most homeowners can complete with a screwdriver and a little patience.
In this guide, you’ll learn how to identify hinge problems, adjust the hinges correctly, and know when replacement is a better option.
If your door closes but still won’t stay latched after adjusting the hinges, read our How to Fix a Door That Won’t Latch guide to correct strike plate and latch alignment problems.
Signs Your Door Hinges Need Adjustment
Your hinges may need adjustment if you notice:
- The door rubs against the frame.
- Uneven gaps around the door.
- The latch doesn’t line up.
- The door sticks when opening or closing.
- The door slowly swings open by itself.
- Loose hinge screws.
- Visible sagging.
Fixing these problems early helps prevent unnecessary wear on both the door and the frame.
If your door frame has shifted or shows visible cracks, adjusting the hinges alone may not solve the problem. Our How to Repair a Door Frame guide explains how to repair damaged frames before making hinge adjustments.
Tools You’ll Need
Prepare these tools before starting:
- Phillips screwdriver
- Flat-head screwdriver
- Drill
- Wood screws (3-inch recommended)
- Utility knife
- Wood filler
- Hammer
- Tape measure
- Carpenter’s level
Having the right tools makes the adjustment quicker and more accurate.
Step 1: Identify the Alignment Problem
Before making adjustments, determine exactly where the door is out of alignment.
Look for:
- Rubbing at the top corner
- Contact along the latch side
- Gaps around the frame
- Loose hinges
- Uneven spacing
- Difficulty latching
Open and close the door several times while observing where it sticks or rubs.
Step 2: Tighten All Hinge Screws
Loose screws are the most common cause of hinge misalignment.
Follow These Steps
- Tighten every hinge screw.
- Replace stripped screws with longer screws.
- Check that each hinge sits flush.
- Test the door after tightening.
Many alignment problems are solved without making further adjustments.
Step 3: Check for Worn Hinges
Inspect each hinge carefully.
Look for:
- Bent hinge leaves
- Rust
- Loose hinge pins
- Cracks
- Worn barrels
Damaged hinges should be replaced rather than adjusted.
If your inspection reveals bent or badly worn hinges, adjustment alone won’t provide a lasting fix. Follow our How to Replace Door Hinges guide to install new hinges and restore proper door alignment.
Step 4: Adjust the Top Hinge First
In many cases, the top hinge is responsible for a sagging door.
Here’s How
- Tighten the screws securely.
- Replace one short screw with a 3-inch screw that reaches the wall stud.
- Test the door.
- Repeat adjustments if necessary.
A properly secured top hinge often corrects minor sagging without additional repairs.
Step 5: Adjust the Bottom Hinge
Once the top hinge is secure, inspect the bottom hinge.
A loose or misaligned bottom hinge can cause the door to drag across the floor or create uneven gaps along the latch side.
Follow These Steps
- Tighten all bottom hinge screws.
- Replace stripped screws with longer wood screws.
- Ensure the hinge sits flush in the mortise.
- Test the door after each adjustment.
Avoid overtightening, as this can strip the screw holes and weaken the repair.
Step 6: Use Hinge Shims for Better Alignment
If tightening the screws doesn’t solve the problem, hinge shims can help fine-tune the door’s position.
A hinge shim is a thin spacer placed behind the hinge leaf to slightly change the door’s alignment.
How to Install a Hinge Shim
- Remove the hinge screws.
- Lift the hinge away carefully.
- Place a hinge shim behind the hinge.
- Reinstall the screws.
- Test the door.
- Add or remove shims until the alignment is correct.
Make small adjustments and test the door after each change.
Step 7: Lubricate the Hinges
After adjusting the hinges, apply lubricant to keep them operating smoothly.
How to Lubricate Hinges
- Apply a silicone-based lubricant to each hinge.
- Open and close the door several times.
- Wipe away any excess lubricant.
- Check that the door moves freely.
Proper lubrication reduces friction and extends the life of the hinges.
If your hinges still squeak after adjustment, they may simply need proper cleaning and lubrication. Our How to Stop Doors From Squeaking guide explains several easy DIY methods to eliminate noise and keep your door operating quietly.
Step 8: Test the Door Alignment
Once all adjustments are complete, test the door carefully.
Check that:
- The door opens smoothly.
- It closes without rubbing.
- The latch aligns correctly.
- Gaps around the frame are even.
- The hinges remain secure.
If necessary, make small adjustments until the door operates normally.
Common Mistakes to Avoid
Avoid these common DIY mistakes:
- Tightening only one hinge.
- Ignoring stripped screw holes.
- Adjusting all hinges at once.
- Using the wrong screw length.
- Skipping alignment checks.
- Forgetting to lubricate the hinges.
- Overtightening screws.
Small, gradual adjustments usually produce the best results.
Expert Maintenance Tips
Regular inspections help prevent future alignment problems.
- Check hinge screws every six months.
- Lubricate hinges annually.
- Replace rusted hardware promptly.
- Inspect the frame for movement.
- Avoid slamming the door.
- Repaint exposed wood when needed.
Routine maintenance extends the life of both the hinges and the door.
If your door still rubs against the frame after adjusting the hinges, the issue may involve seasonal swelling or minor frame movement. Our How to Fix a Door That Sticks guide covers additional solutions to restore smooth operation.
Correct hinge alignment is an important part of long-term door maintenance. This Bob Vila provides practical DIY guidance on adjusting doors, maintaining hardware, and preventing common household repair issues.
Pro Tip
When replacing a short hinge screw with a 3-inch wood screw, drive it into the wall stud behind the frame. This provides extra support for heavy doors and often corrects minor sagging without replacing the hinges.
Final Thoughts
Adjusting door hinges is one of the easiest DIY repairs for fixing sagging, sticking, and misaligned doors. By tightening loose screws, using hinge shims when necessary, and replacing damaged hardware, you can restore smooth operation without replacing the entire door.
Regular maintenance, yearly inspections, and prompt repairs will help extend the life of your door while preventing more expensive problems in the future.
Once your hinges are properly adjusted, it’s also worth checking whether your door is well sealed against drafts. Our How to Weatherproof a Door guide explains how to replace weatherstripping, seal gaps, and improve your home’s energy efficiency.
FAQs
How do I know if my door hinges need adjusting?
If your door rubs against the frame, has uneven gaps, doesn’t latch properly, or slowly swings open or closed by itself, the hinges likely need adjustment.
Can I adjust door hinges without removing the door?
Yes. Most hinge adjustments only require tightening screws or adding hinge shims. In most cases, you don’t need to remove the entire door.
Why does my door still sag after adjusting the hinges?
If the door continues to sag, the hinges may be bent, the screw holes may be stripped, or the door frame may have shifted. Inspect all components before making further adjustments.
Should I replace or adjust my hinges?
If the hinges are still in good condition, adjusting them is usually enough. However, if they’re bent, cracked, rusted, or heavily worn, replacing them is the better long-term solution.
How often should I inspect my door hinges?
It’s a good idea to inspect hinges at least once a year. Regular maintenance helps prevent sticking, sagging, squeaking, and premature wear.
When Should You Replace Hinges Instead of Adjusting Them?
Adjustment works for most alignment issues, but replacement is the better option if you notice:
- Bent hinge leaves
- Cracked hinges
- Heavy rust or corrosion
- Loose hinge pins
- Stripped screw holes that can’t be repaired
- Hinges pulling away from the frame
Installing new hinges often restores proper alignment while improving the door’s overall stability.