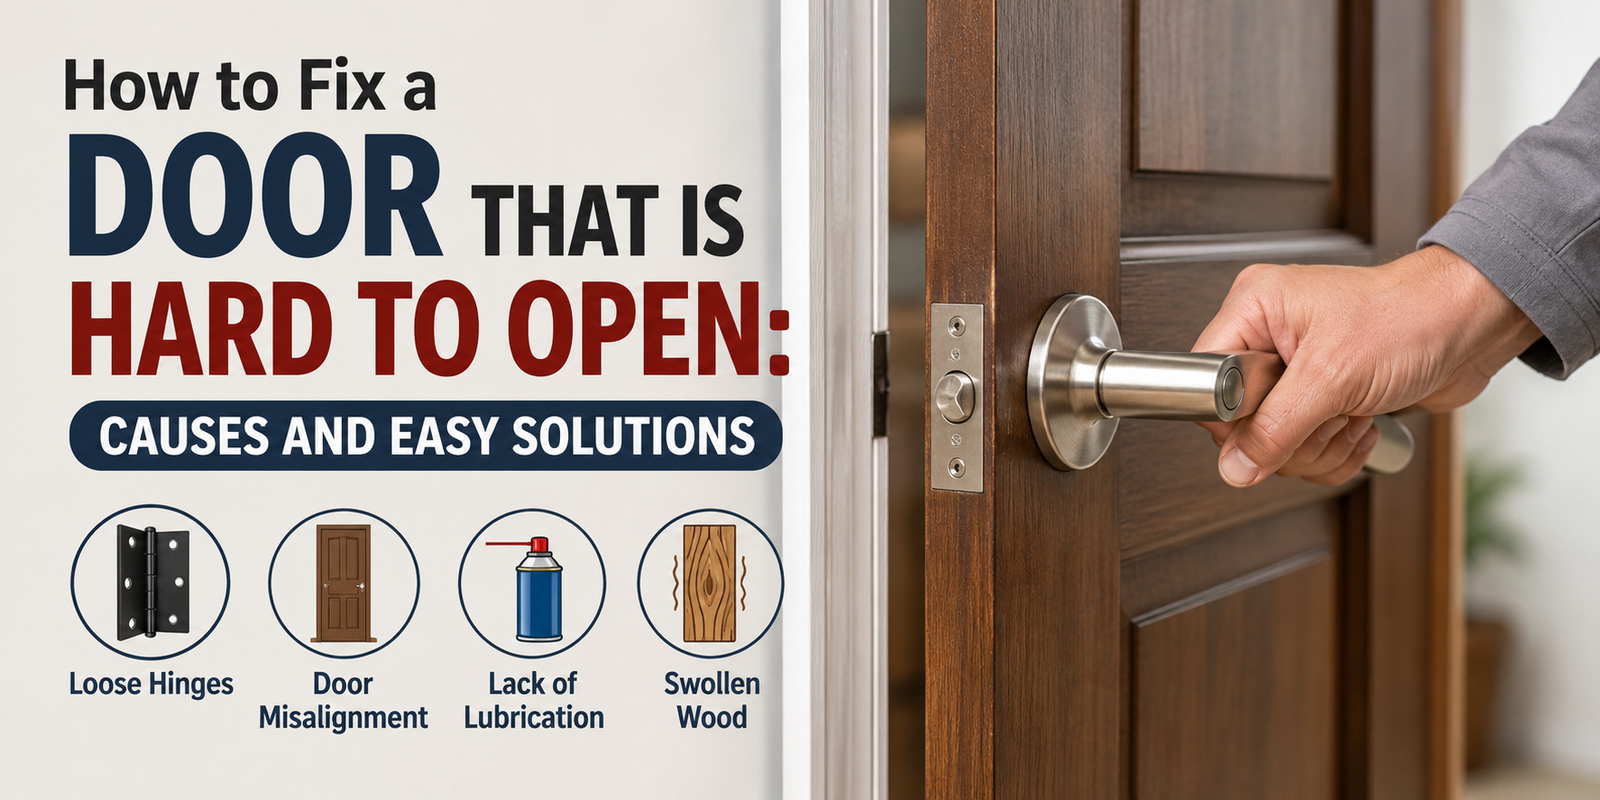
A door that suddenly becomes hard to open can make a simple trip from one room to another surprisingly frustrating.
Sometimes you have to pull harder than usual. Other times the handle moves normally, but the door feels as if it is stuck to the frame. You may even notice a scraping sound just before it finally opens.
Don’t assume the door needs replacing.
In many cases, the problem comes from something relatively simple: loose hinges, a swollen door edge, paint buildup, a misaligned strike plate, or a latch that isn’t moving freely.
The trick is to find out where the resistance is coming from before trying to force the door open.
Quick Answer
To fix a door that is hard to open, first determine whether the resistance is coming from the hinges, the door edge, the latch, or the frame. Check for loose hinge screws, rubbing marks, paint buildup, swelling, and a latch that doesn’t retract completely.
Start with the simplest adjustment, test the door, and only then move to a more involved repair. If the door has suddenly become difficult to open, look for recent changes such as humidity, painting, flooring work, or loose hardware.
Start by Finding Where the Door Is Sticking
Don’t immediately pull harder on the handle.
Close the door gently and then open it again while paying attention to where you feel resistance.
Does the door:
- Catch near the top?
- Rub along the latch side?
- Scrape near the bottom?
- Feel tight only when almost closed?
- Open normally but require extra force when the handle is turned?
These clues can narrow down the problem quickly.
A door that is physically rubbing the frame needs a different solution from one whose latch is simply failing to retract.
1. Check the Hinges
Hinges are one of the first places I’d look.
A door’s weight is carried by the hinges, and a small amount of movement can change the way the door sits inside the frame.
Open the door and inspect each hinge.
Look for:
- Loose screws
- Hinge plates that are pulling away from the wood
- Damaged screw holes
- Bent hinge leaves
- Uneven gaps around the door
Tighten any loose screws carefully.
If a screw spins without becoming tighter, don’t keep turning it. The wood around the screw hole may no longer be gripping the threads properly.
If the door is also sagging or rubbing, our guide on How to Adjust Door Hinges is the best next step before removing any wood from the door.
2. Check for Rubbing Along the Door Edge
Close the door slowly and listen.
A scraping sound is an obvious clue, but you can also look for worn paint or shiny areas along the edge where the door contacts the frame.
If the rubbing is near the top, the hinges may have allowed the door to drop slightly.
If it is along the latch side, swelling, paint buildup, or frame alignment may be responsible.
If you find a definite rubbing point, see our guide on How to Fix a Door That Rubs before reaching for sandpaper.
There is an important reason for this.
Removing material from the door may create more clearance, but it won’t correct a loose hinge or shifted frame.
3. Look for Paint Buildup
Paint can gradually reduce the space between a door and its frame.
This is especially common on older interior doors that have been painted several times.
Run your fingers around the door edge and inspect the frame.
If you see thick layers of paint where the door closes, they may be creating enough friction to make the door difficult to open.
Remove only the excess material that is actually causing the problem.
Don’t sand the entire edge just because one small section is tight.
After fixing the buildup, test the door before applying another coat of paint.
4. Check for Swollen Wood
Humidity can change the way a wooden door fits inside its frame.
If the door becomes difficult to open during humid weather but worked normally before, swelling is worth considering.
Look carefully at the area where the door is tight.
You may notice that the gap has almost disappeared in one section.
This is where patience matters.
Don’t immediately remove a large amount of wood.
If the problem is seasonal swelling, the door may shrink again when conditions become drier. Removing too much material can leave you with an unnecessarily large gap later.
5. Test the Door With the Handle
Try opening the door while paying attention to the handle.
Does the handle turn normally?
Does the latch retract fully?
Does the door become easier to open when you pull the handle all the way down?
If the handle feels stiff or the latch doesn’t retract properly, the problem may be inside the latch mechanism rather than around the door frame.
Operate the handle several times while the door is open.
The latch should move smoothly.
If it feels rough, sticks halfway, or doesn’t return properly, inspect the hardware before adjusting the hinges.
6. Inspect the Strike Plate
A strike plate that is slightly misaligned can create resistance when the latch tries to pass through it.
Close the door slowly and watch where the latch meets the strike plate.
If the latch hits the edge of the opening instead of entering smoothly, the plate may need a small adjustment.
Loosen the screws, move the plate slightly, and tighten it again.
Make small changes.
A few millimetres can be enough to change how smoothly the latch works.
If you are unsure whether the latch or strike plate is causing the resistance, mark the contact point and test the door again.
For another detailed reference, the Home Depot guide to fixing an interior door also recommends checking the hinges, strike plate, frame, and areas where the door is sticking before choosing a repair.
7. Check the Door Frame
The frame is easy to overlook because the door gets most of the attention.
Look closely at the gap between the door and jamb.
If the gap is noticeably uneven, the frame or hinge alignment may have changed.
This can happen because of:
- House settling
- Previous repairs
- Moisture
- Renovation work
- Loose frame fasteners
- A door that has shifted over time
If the frame itself is visibly distorted, don’t keep modifying the door edge.
The frame may need attention instead.
8. Think About Recent Changes
Ask yourself what changed before the door became difficult to open.
Was the room recently painted?
Was new flooring installed?
Did someone remove the door?
Was the frame repaired?
Has the weather become much more humid?
These details can provide a surprisingly good clue.
For example, adding several layers of paint can reduce clearance. New flooring can change the bottom clearance. Removing and reinstalling a door can also affect hinge alignment.
The timing of the problem can sometimes tell you more than the door itself.
What If the Door Is Hard to Open but Closes Normally?
This usually points toward the latch, hinges, or a localized rubbing problem rather than a major alignment issue.
Start with the handle and latch.
Then check whether the door rubs at any point.
If there is no obvious rubbing and the hinges are secure, the latch mechanism deserves closer attention.
Don’t force the handle repeatedly.
If the mechanism is damaged, excessive force can turn a small hardware repair into a broken handle or latch.
What If the Door Is Hard to Open and Also Sticks?
If the door is difficult to open and you can see rubbing around the frame, you’re probably dealing with a broader alignment or swelling problem.
Our guide on How to Fix a Door That Sticks covers the common causes of this type of problem and can help you determine whether the issue is related to the hinges, frame, moisture, or clearance.
Treat the symptoms together instead of fixing only the part that is easiest to see.
A Simple Paper Test
A sheet of ordinary paper can help identify a tight spot.
Close the door and try sliding the paper between the door and frame.
Move it around different sections of the opening.
If the paper slides easily in one area but becomes difficult to move in another, you’ve found a section where the clearance is different.
This doesn’t tell you exactly what caused the problem, but it gives you a useful starting point.
Common Mistakes to Avoid
Pulling harder on the handle
More force isn’t a repair.
If something is binding, forcing the door can damage the handle, latch, frame, or hinges.
Sanding too soon
Always check the hinges, frame, paint, and moisture first.
Adjusting several things at once
Make one change and test the door.
Otherwise, you won’t know which adjustment solved the problem.
Ignoring humidity
Wood responds to moisture, and seasonal swelling can change door clearance.
Replacing good hardware
A door that is difficult to open doesn’t automatically need new hinges or a new latch.
Find the cause first.
When Should You Call a Professional?
Most minor door problems are suitable for DIY repair.
However, professional help makes sense when:
- The frame is badly damaged.
- The surrounding wall has cracked or shifted.
- Several doors suddenly develop similar problems.
- The door is an exterior security door.
- The latch or lock is damaged and cannot operate safely.
- The door is badly warped.
- You have made several adjustments without improvement.
A door that is slightly tight is one thing.
A doorway that has visibly shifted is something else.
Quick Troubleshooting Table
| What you notice | Possible cause | First check |
|---|---|---|
| Door rubs near the top | Hinge alignment | Top hinge |
| Door rubs along one side | Swelling or frame alignment | Door edge |
| Handle feels stiff | Latch or hardware | Handle mechanism |
| Latch catches on strike plate | Misalignment | Strike plate |
| Door became difficult during humid weather | Swollen wood | Door edge |
| Problem started after painting | Paint buildup | Door and frame |
| Door is sagging | Loose hinges | Hinge screws |
| Several doors are affected | Frame or building movement | Surrounding area |
Final Thoughts
A door that is hard to open is usually giving you a clue rather than simply refusing to cooperate.
Listen for rubbing.
Look at the gaps.
Check the hinges.
Test the latch.
And think about what changed before the problem started.
Once you identify where the resistance is coming from, the repair is often much smaller than it first appeared.
For more practical home improvement and door repair guides, visit the IngeBIM Blog and explore the related DIY articles.