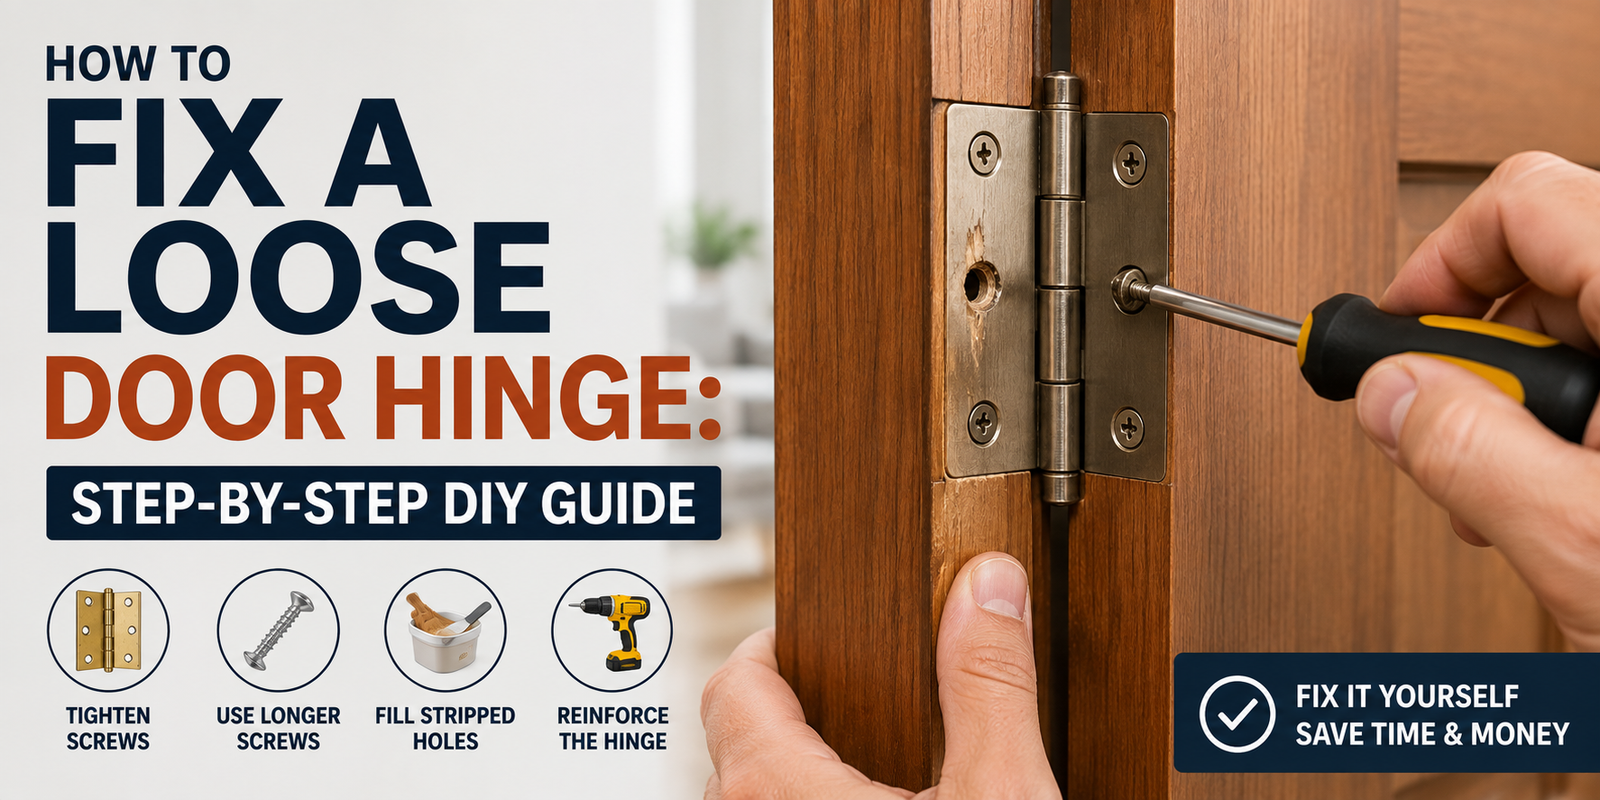
A loose door hinge may seem like a small problem, but even a little movement can change the way a door hangs.
You might notice the door scraping against the frame, becoming harder to close, or sitting lower on one side. Sometimes the only warning is a hinge that visibly moves when you open the door.
Fortunately, most loose door hinges can be repaired without replacing the entire door.
The important thing is to find out why the hinge is loose. A simple loose screw may take a minute to fix, while a stripped screw hole needs a more permanent repair.
Quick Answer
To fix a loose door hinge, start by tightening the existing screws with the correct screwdriver. If a screw spins without tightening, the wood around the hole may be stripped.
For a damaged screw hole, remove the loose screw, reinforce the hole with suitable wood material, and reinstall the hinge securely. If the door is still sagging after the repair, inspect the hinge alignment and the condition of the hinge itself.
Make one repair at a time and test the door before moving on.
How to Tell If a Door Hinge Is Loose
You don’t always need to remove anything to find a loose hinge.
Open the door and gently move it up and down.
If you can see the hinge plate moving against the door or frame, there is likely some looseness.
Other signs include:
- The door has started rubbing against the frame
- The door looks lower on one side
- The gap around the door is uneven
- The door is harder to close
- The latch no longer lines up correctly
- You can see screws sitting away from the hinge plate
- A hinge makes a clicking or popping sound when the door moves
One loose hinge can affect the entire door because the hinges work together to support its weight.
What You’ll Need
For a basic repair, you may only need:
- Screwdriver
- Replacement screws if necessary
- Drill and drill bit
- Wood glue
- Wooden toothpicks or small wood pieces for minor stripped holes
- Utility knife
- Wood filler for cosmetic repairs
- Pencil
- Cloth
You may not need all of these.
Start with the simplest repair and only gather additional materials if you find a damaged screw hole or hinge.
Step 1: Inspect Every Hinge
Don’t assume the hinge you can see moving is the only problem.
Check the top, middle, and bottom hinges.
Look at both sides of each hinge.
Pay particular attention to the top hinge because it carries a significant amount of the door’s weight.
Check whether:
- Screws are visibly loose
- The hinge plate is pulling away from the wood
- The hinge looks bent
- The screw heads are damaged
- The surrounding wood is cracked
- The hinge leaves are sitting unevenly
If only one screw is loose, you may have a very simple repair.
If several screws are loose or the hinge has moved significantly, take a closer look before tightening everything.
Step 2: Tighten the Existing Screws
Use the correct screwdriver and tighten each loose screw carefully.
Start with the screws that hold the hinge to the door and then check the screws securing it to the frame.
Turn the screw until the hinge sits firmly against the surface.
Don’t force it once it is secure.
Over-tightening can damage the wood around the screw and make the hole even weaker.
After tightening the screws, open and close the door several times.
If the door now sits correctly and no longer moves at the hinge, you may already be finished.
Step 3: Check for a Screw That Won’t Tighten
This is a common sign of a stripped screw hole.
Turn the screwdriver slowly.
If the screw spins but never becomes tight, stop.
The threads may no longer have enough wood to grip.
Simply replacing the screw with another screw of the same size usually won’t solve the problem.
The hole needs to be repaired first.
Step 4: Repair a Small Stripped Screw Hole
For a minor stripped hole in a wooden door or frame, one simple repair is to reinforce the opening with small pieces of wood.
Remove the loose screw.
Clean away loose debris from the hole.
Apply a small amount of wood glue to suitable wooden slivers or toothpicks and place them into the hole.
Allow the adhesive to set according to the product instructions.
Trim the excess material flush with the surface.
Then reinstall the hinge screw.
The goal is to give the screw fresh wood to grip.
Don’t fill the hole completely with glue alone. Glue does not replace the mechanical strength provided by wood.
Step 5: Consider a Longer Screw
If the hinge is attached to a wooden frame and the existing screws no longer provide enough grip, a longer screw may help in some situations.
The idea is to allow the screw to reach stronger wood behind the shallow surface material.
However, don’t blindly install the longest screw you can find.
You need to make sure the screw is appropriate for the door, frame, hinge, and surrounding construction.
When working on an exterior door, be especially careful because hinge installation can affect the security and alignment of the entire door.
A professional source such as Bob Vila’s guide to fixing a door that won’t latch also recommends checking hinge screws when hinge sag causes latch misalignment, including using longer screws in suitable situations.
Step 6: Check Whether the Hinge Is Sitting Correctly
A hinge can be tight but still be positioned incorrectly.
Look at the hinge leaves.
They should sit properly within their recesses rather than being forced against an uneven surface.
If a hinge is sitting proud of the door or frame, it can change the door’s position.
This may cause:
- Uneven gaps
- Door rubbing
- A latch that misses the strike plate
- A door that swings unexpectedly
- Difficulty closing the door
If the hinge position itself needs adjustment, our guide on How to Adjust Door Hinges provides a more detailed walkthrough.
Step 7: Test the Door Alignment
After repairing the hinge, don’t immediately assume the job is finished.
Close the door slowly.
Look at the gap between the door and frame.
Then open and close the door several times.
Ask yourself:
- Is the door still rubbing?
- Does it sit level?
- Does the latch line up?
- Has the gap become more even?
- Does the hinge still move?
If the door now closes normally, the loose hinge was probably the main issue.
If the door still rubs, there may be another alignment problem.
What If the Door Still Rubs?
A loose hinge can cause rubbing, but it isn’t the only possible cause.
If the hinge is now secure and the door still catches against the frame, identify exactly where the contact occurs.
Look for worn paint or marks on the door edge.
If rubbing remains the main problem, our guide on How to Fix a Door That Rubs explains how to diagnose the contact point and choose the right repair.
Don’t immediately sand the door.
You may be dealing with a frame or hinge alignment issue that should be corrected first.
What If the Door Still Sticks?
If the door remains difficult to open or close after repairing the hinge, check whether it is sticking against the frame.
A loose hinge can cause the door to shift, but moisture, paint buildup, and frame movement can create similar symptoms.
For a broader diagnosis, see our guide on How to Fix a Door That Sticks.
This can help you determine whether the remaining problem is related to the hinge, frame, moisture, or door clearance.
When Should You Replace the Hinge?
Not every loose hinge needs to be replaced.
A hinge may still be perfectly usable if the metal is straight and the screw holes can hold securely.
Replacement becomes more reasonable when you see:
- Bent hinge leaves
- Cracked or damaged metal
- Excessive movement
- Heavy rust
- Worn hinge knuckles
- Damaged hinge pin
- Screw holes that cannot be repaired properly
If the hinge itself is damaged, installing a new hinge may be more reliable than trying to repair it.
When replacing a hinge, choose one that matches the existing size and configuration as closely as possible.
How to Fix a Hinge That Keeps Coming Loose
If you’ve tightened the same hinge several times and it keeps loosening, don’t keep repeating the same repair.
There is probably an underlying reason.
The screw may be too short.
The wood may be damaged.
The hinge may not be sitting correctly.
Or the door may be putting excessive pressure on that hinge because of alignment problems.
Find the reason before installing another screw.
A repair that holds for a week isn’t much of a repair.
What About a Sagging Door?
A loose hinge can allow the door to drop slightly.
You may notice that the top corner of the door is closer to the frame than it used to be, while the lower gap has changed.
The latch may also stop lining up with the strike plate.
This is one reason hinge problems often appear alongside other door problems.
If your door is sagging, start with the hinges before modifying the door edge.
A small correction can sometimes restore the original position without sanding or cutting the door.
Common Mistakes to Avoid
Tightening screws too aggressively
Once a screw is secure, stop.
Too much force can damage the surrounding wood.
Using the same stripped screw hole repeatedly
If the screw won’t grip, repair the hole instead of forcing the screw back into it.
Replacing the door unnecessarily
A loose hinge rarely means the entire door is bad.
Sanding a rubbing door immediately
Find out whether the hinge is causing the door to shift before removing material.
Adjusting every hinge at once
Make one change at a time.
This makes it much easier to identify what solved the problem.
Ignoring the frame
If the frame has moved or become damaged, repairing the hinge alone may not completely solve the issue.
When to Call a Professional
Most basic hinge repairs are suitable for DIY work.
However, professional help is a better choice when:
- The door frame is badly damaged
- The surrounding wall has shifted
- Several doors are suddenly misaligned
- An exterior security door is affected
- The hinge area has significant structural damage
- The door is extremely heavy
- The repair requires major frame modification
If the problem appears to be part of a larger structural movement, don’t keep adjusting the hinge and hoping it will disappear.
Quick Troubleshooting Table
| Problem | Likely cause | First step |
|---|---|---|
| Screw keeps spinning | Stripped screw hole | Repair the hole |
| Hinge plate moves | Loose screws | Tighten screws |
| Door rubs after hinge repair | Alignment issue | Check door gaps |
| Door sags | Loose or misaligned hinge | Inspect top hinge |
| Latch misses strike plate | Door shifted | Check hinge alignment |
| Hinge is bent | Damaged hardware | Replace hinge |
| Same screw keeps loosening | Weak wood or poor screw grip | Repair or use suitable replacement |
| Door still sticks | Another alignment or swelling problem | Inspect frame and door edge |
Final Thoughts
A loose door hinge is usually a small repair, but fixing it properly means looking beyond the loose screw.
Start by inspecting every hinge.
Tighten what can be tightened.
If a screw no longer grips, repair the hole instead of forcing it.
Then test the door’s alignment before deciding whether anything else needs attention.
If the door still rubs, sticks, or refuses to latch after the hinge is secure, you may be dealing with a second problem rather than a failed hinge.
For more practical home improvement and door repair guides, visit the IngeBIM Blog and explore the related Door Repair articles.