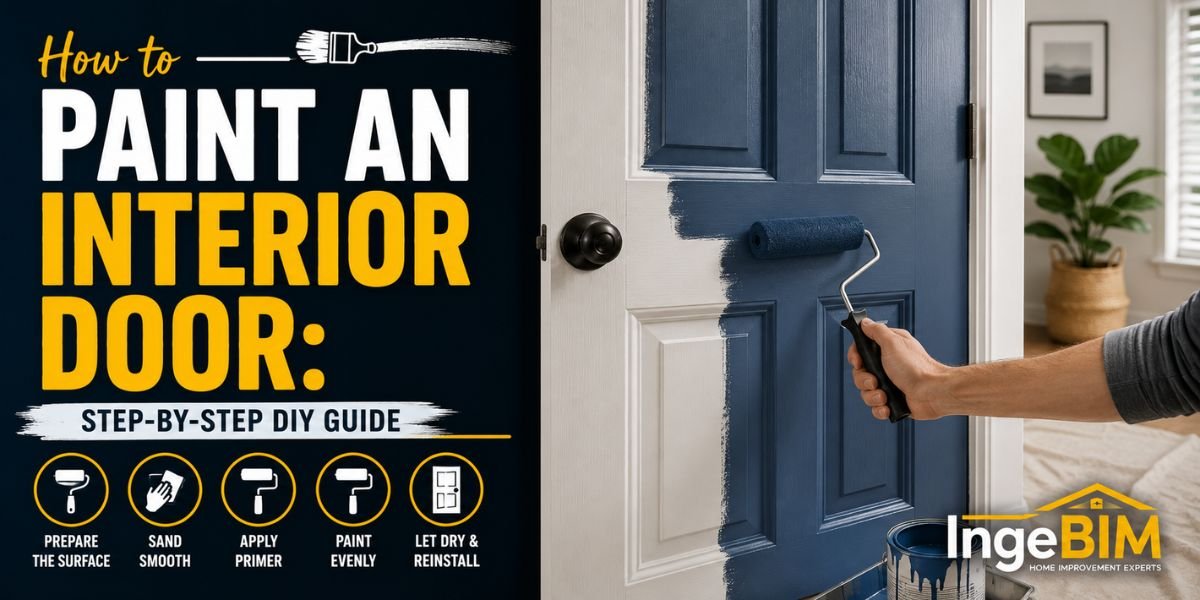
Introduction
Painting an interior door is one of the easiest and most affordable ways to refresh your home’s appearance. Whether you’re updating old paint, covering scratches, or changing colors during a renovation, a freshly painted door can make any room look cleaner and more modern.
The key to a professional finish isn’t expensive tools—it’s proper preparation. Cleaning, sanding, priming, and using the correct painting technique all help create a durable finish that resists peeling, chipping, and everyday wear.
In this complete DIY guide, you’ll learn how to paint an interior door from start to finish, avoid common mistakes, and keep the finish looking great for years.
Before painting, make sure the door opens and closes properly. If the door rubs against the frame or sticks, solve that issue first by reading our How to Fix a Door That Sticks guide.
Quick Answer
To paint an interior door, remove the hardware, clean the surface, sand lightly, apply primer if needed, paint with thin, even coats, and allow adequate drying time between coats. Using the right paint and tools helps achieve a smooth, professional-looking finish.
Why Paint an Interior Door?
A fresh coat of paint offers more than just a cosmetic upgrade.
Benefits include:
- Improves the appearance of your home.
- Covers scratches and minor imperfections.
- Protects the door from moisture and everyday wear.
- Extends the life of the door.
- Matches updated décor and color schemes.
- Increases perceived home value.
Painting is often much less expensive than replacing an interior door.
Before investing time in painting, inspect the door frame for cracks, loose trim, or other damage. A damaged frame can affect both the appearance and performance of the finished door. Our How to Repair a Door Frame guide explains how to fix common frame problems before painting.
Tools and Materials You’ll Need
Gather everything before you begin:
Tools
- Screwdriver
- Paintbrush (angled)
- Foam roller
- Paint tray
- Sandpaper (120–220 grit)
- Tack cloth
- Painter’s tape
- Drop cloth
Materials
- Interior door paint
- Primer (if needed)
- Wood filler
- Mild cleaner
- Clean microfiber cloth
Step 1: Remove the Door Hardware
Remove any hardware that could interfere with painting.
This includes:
- Door knobs
- Locks
- Hinges (optional)
- Strike plates
- Decorative hardware
Label screws and small parts so they’re easy to reinstall later.
If you’re planning to upgrade old hardware instead of reinstalling it, now is the perfect time. Our How to Replace a Door Knob guide walks you through choosing and installing new hardware after painting.
Step 2: Clean the Door Thoroughly
Dust, grease, and fingerprints prevent paint from bonding properly.
Clean the surface using:
- Mild soap and water
- Degreasing cleaner (if necessary)
- Clean microfiber cloth
Allow the door to dry completely before moving to the next step.
Step 3: Repair Minor Damage
Inspect the door carefully for:
- Small dents
- Nail holes
- Minor cracks
- Surface scratches
Fill imperfections with wood filler and allow it to dry according to the manufacturer’s instructions.
Sand the repaired areas until smooth.
If the damage extends beyond small surface imperfections and affects the structure of the door, repairing it before painting is essential. Our How to Fix a Door That Won’t Latch guide can also help if alignment problems are preventing the door from closing correctly.
Step 4: Sand the Surface
Light sanding creates a smooth surface and improves paint adhesion.
Here’s How
- Sand the entire door lightly using 120–220 grit sandpaper.
- Pay extra attention to glossy areas.
- Remove sanding dust with a tack cloth.
- Inspect for any missed imperfections.
A properly sanded surface produces a smoother, more durable finish.
Step 5: Apply Primer (If Needed)
Primer helps paint stick better and creates a more even finish.
Apply primer if:
- The door is unfinished wood.
- You’re changing from a dark color to a light one.
- The existing paint is chipped or peeling.
- The door has been repaired with wood filler.
How to Prime the Door
- Stir the primer thoroughly.
- Use a brush for edges and detailed areas.
- Apply a thin, even coat with a foam roller on flat panels.
- Allow the primer to dry completely.
- Lightly sand with fine-grit sandpaper before painting.
A properly primed surface helps the final paint coat look smoother and last longer.
Step 6: Choose the Right Paint
Not all paints perform the same on interior doors.
Best Paint Types
- Acrylic Latex Paint
- Water-Based Enamel
- Hybrid Enamel Paint
Best Finishes
- Satin
- Semi-Gloss
- Gloss (for high-traffic areas)
Semi-gloss remains the most popular choice because it’s durable, easy to clean, and highlights the door’s details without showing every imperfection. If your door still sags or doesn’t close smoothly after painting, worn hinges may be the real problem. Our How to Replace Door Hinges guide explains how to install new hinges and restore proper door alignment.
Step 7: Paint the Door
Now it’s time to apply the finish coat.
Best Painting Order
- Paint recessed panels first.
- Paint horizontal rails.
- Paint vertical stiles.
- Finish with the outer edges.
Use long, smooth strokes and avoid overloading the brush or roller.
Apply two thin coats instead of one thick coat for a cleaner, more durable finish.
If your door doesn’t hang evenly while you’re painting, adjusting the hinges can improve both the finish and the way the door operates. Follow our How to Adjust Door Hinges guide before reinstalling the door.
Step 8: Allow the Paint to Dry
Drying time depends on the paint type and room conditions.
Typical Drying Times
- Touch Dry: 1–2 hours
- Second Coat: 4–6 hours
- Full Cure: Up to 30 days (varies by manufacturer)
Avoid closing the door completely until the paint has dried enough to prevent sticking.
Following the paint manufacturer’s recommended drying and curing times helps achieve a more durable finish. Sherwin-Williams provides helpful guidance on surface preparation, paint application, and proper drying techniques for interior projects.
Common Painting Mistakes to Avoid
Avoid these mistakes for the best results:
- Skipping surface cleaning.
- Painting over glossy surfaces without sanding.
- Applying thick paint coats.
- Ignoring drying times.
- Reinstalling hardware too soon.
- Painting in very humid conditions.
Taking your time during preparation usually produces a much better-looking finish.
Expert Tips for a Professional Finish
Professional painters recommend:
- Remove the door from its hinges if possible.
- Paint in a dust-free, well-ventilated room.
- Use quality brushes and foam rollers.
- Sand lightly between coats for an ultra-smooth finish.
- Inspect the door under good lighting before applying the final coat.
These small details make a noticeable difference in the finished resul.
Once the paint has fully cured, inspect your hinges for squeaks before reinstalling the door. Our How to Stop Doors From Squeaking guide shows you how to eliminate noise and keep the door operating quietly.
To keep the hinges moving smoothly after painting, apply the correct maintenance product instead of household oils. Read our Best Lubricant for Door Hinges guide to choose the right lubricant for long-lasting performance.
Before reinstalling the hardware, make sure every handle is secure and operates smoothly. If needed, our How to Fix a Loose Door Handle guide explains how to tighten and repair loose handles quickly.
Pro Tip
For the smoothest finish, lightly sand with 220-grit sandpaper between coats after the paint has dried. This removes minor imperfections and helps the next coat bond more evenly without leaving visible brush marks.
Final Thoughts
Painting an interior door is an affordable DIY project that can completely refresh the look of your home. By preparing the surface correctly, choosing the right paint, and applying thin, even coats, you can achieve a durable, professional-looking finish without hiring a painter.
Taking the time to maintain the door hardware, hinges, and frame after painting will also help keep your door operating smoothly for years to come.
Finished upgrading your doors? Continue improving your home’s interior with our How to Install Floating Shelves guide. It’s another beginner-friendly DIY project that adds practical storage and a modern finishing touch to any room.
FAQs
What is the best paint for an interior door?
Water-based enamel or high-quality acrylic latex paint is the best choice for most interior doors. A satin or semi-gloss finish offers excellent durability and is easy to clean.
Should I remove the door before painting?
You can paint a door while it’s hanging, but removing it provides easier access and helps achieve a smoother, more even finish.
How many coats of paint does an interior door need?
Most interior doors require two thin coats of paint. If you’re making a significant color change, you may also need one coat of primer.
Can I paint over old paint?
Yes, as long as the existing paint is in good condition. Clean the surface thoroughly, sand it lightly, and apply primer if necessary before repainting.
How long should I wait before closing the door?
Wait until the paint is dry to the touch before closing the door. For the best results, allow the paint to cure fully according to the manufacturer’s instructions before exposing it to heavy use.
After Painting: Final Door Inspection
If the lock feels stiff or doesn’t operate smoothly after reinstalling the hardware, clean and inspect it before assuming it’s faulty. Our How to Fix a Door Lock guide explains how to troubleshoot sticking locks, worn cylinders, and common locking problems.
If you’re painting an exterior entry door instead of an interior one, protecting it from moisture and drafts is equally important. Our How to Weatherproof a Door guide explains how to improve energy efficiency while extending the life of your door.
Before considering the project complete, inspect the entire door.
Check that:
- The door opens and closes smoothly.
- The handle operates correctly.
- The latch engages properly.
- The hinges move quietly.
- The paint finish is even.
- No paint has dried inside the latch or lock mechanism.
A quick inspection now can save you from fixing small issues later.